1.) Open PowerPoint.
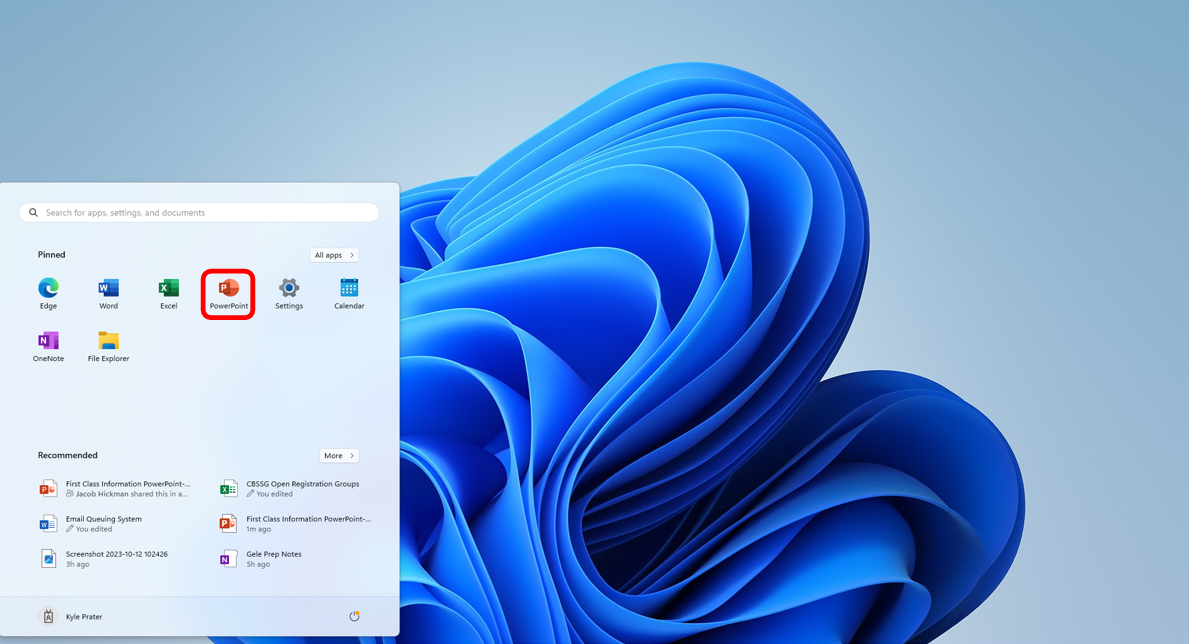
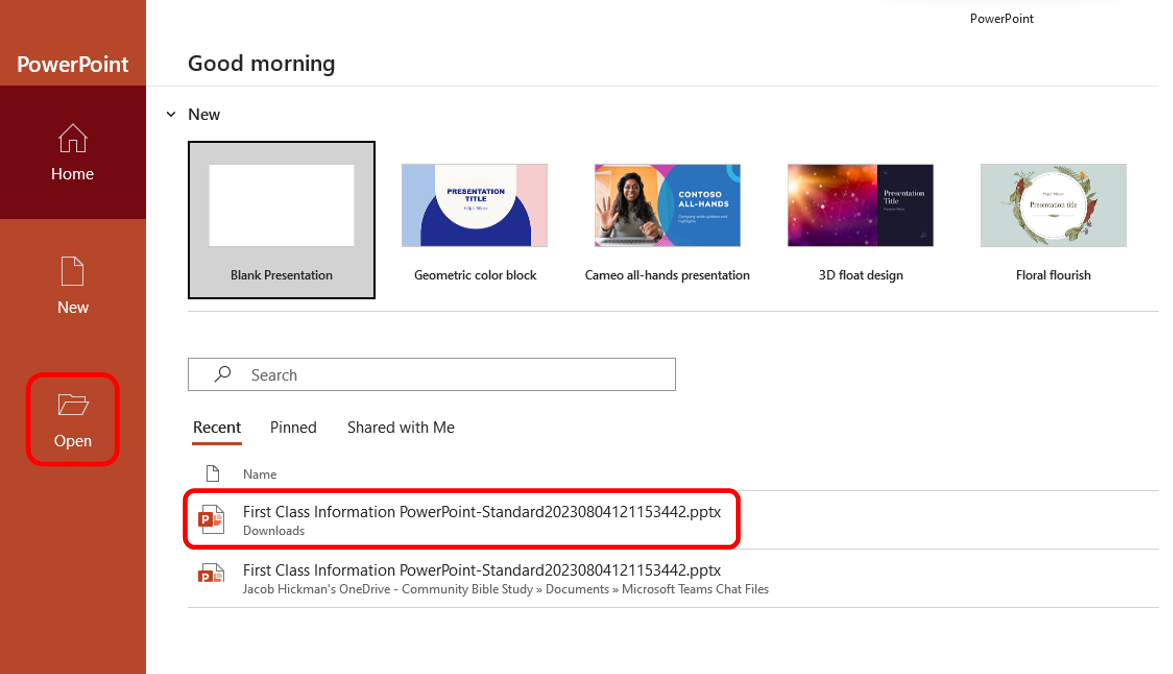
2.) Click Open to select a PowerPoint file OR click a file name under Recent to open the file.
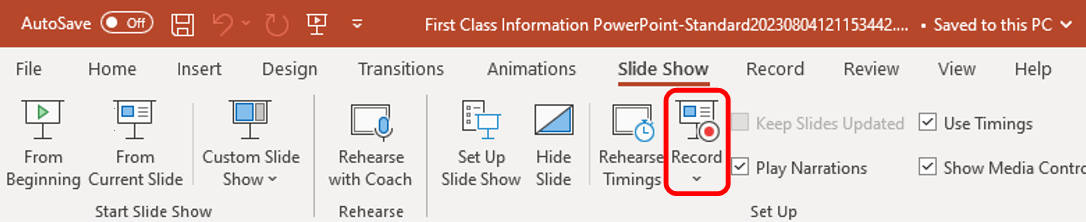
3.) Click Slide Show.

4.) Click Record Slide Show.
5.) The screen will change and show the slide show, as well as a picture-in-picture video from your camera.
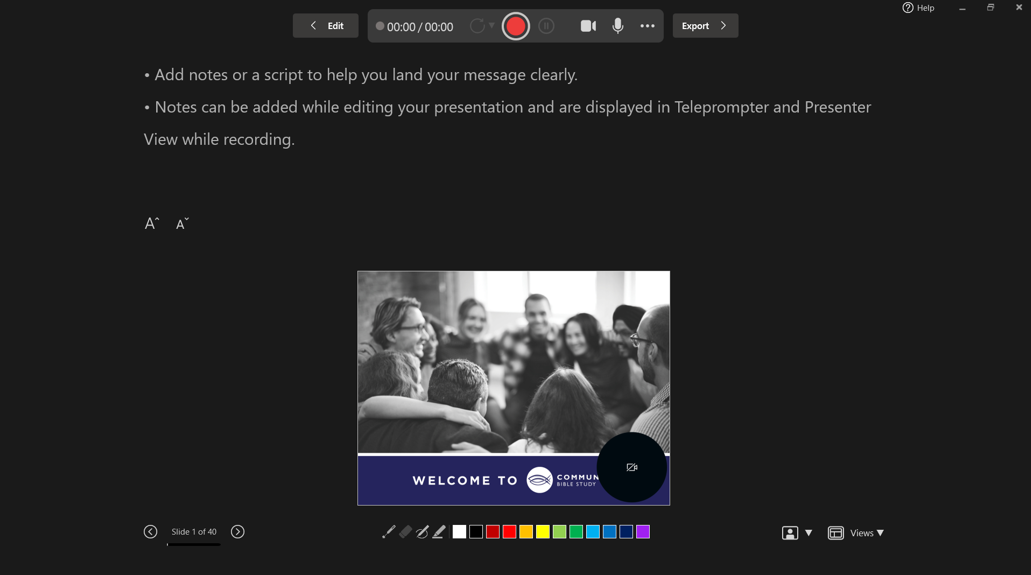
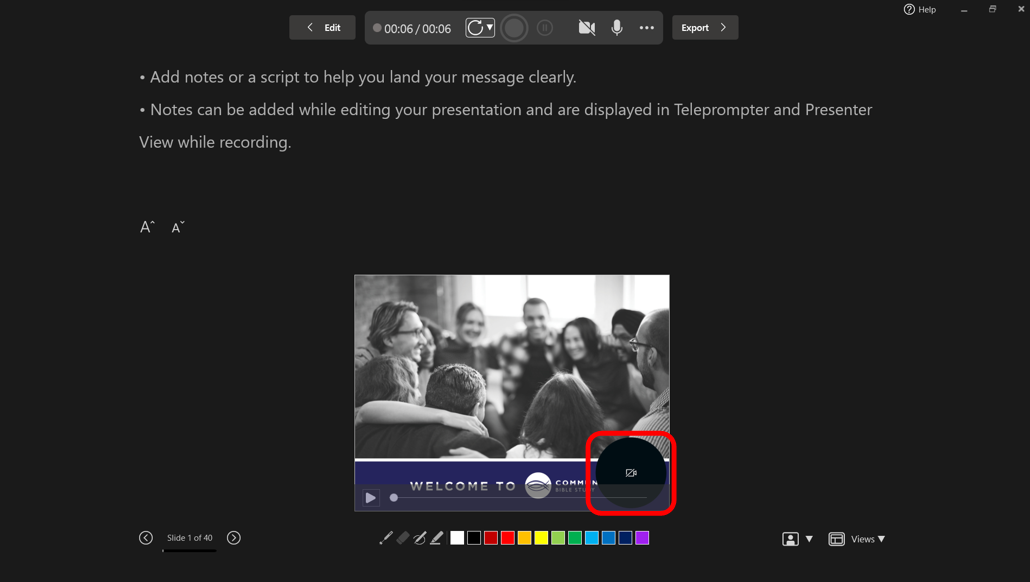
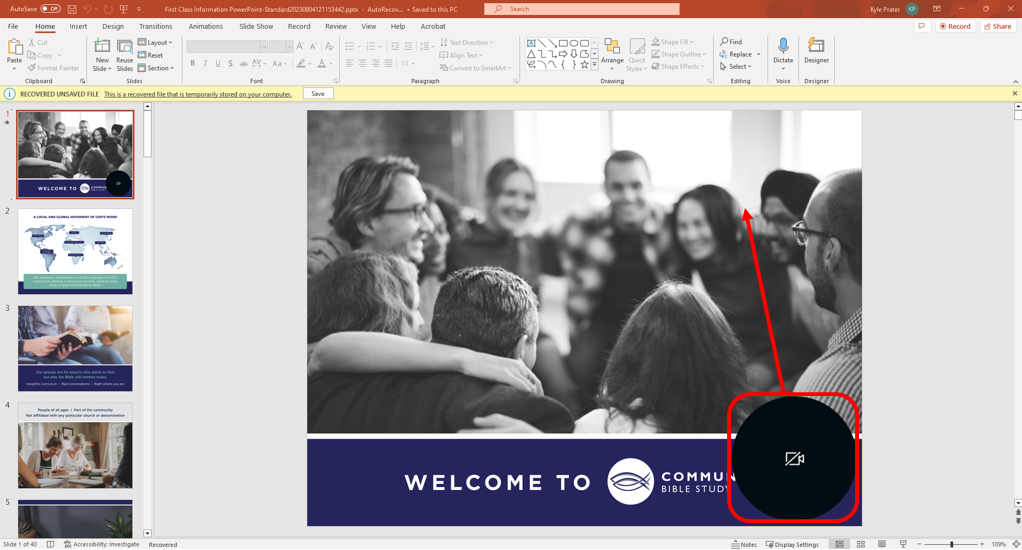
6.) While video is preferred, if you wish to record audio only for a slide, click the Camera Icon to remove the video.
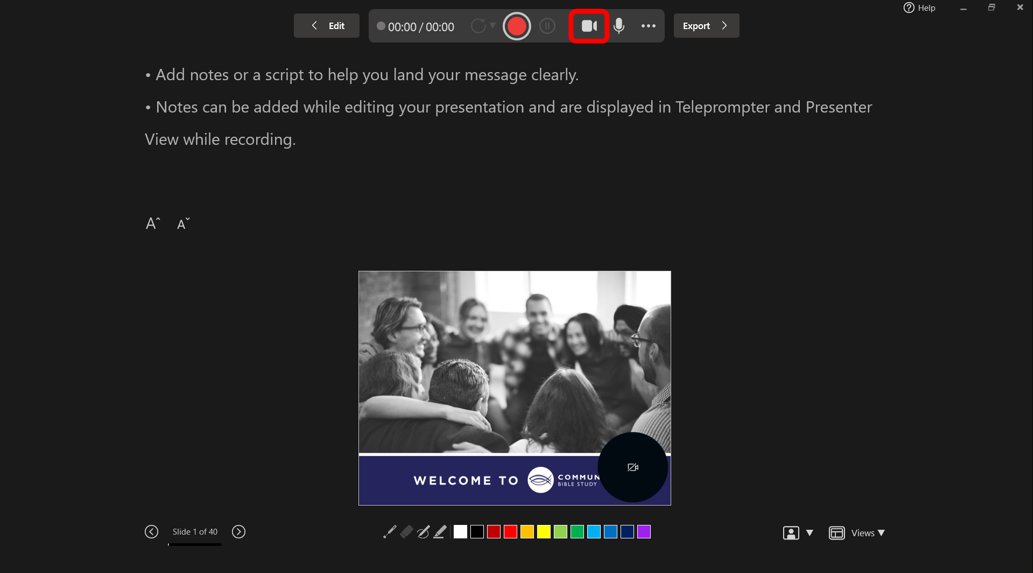
7.) Click RECORD to start recording audio and video (if selected) for a slide.
NOTE: We suggest recording one slide at a time.

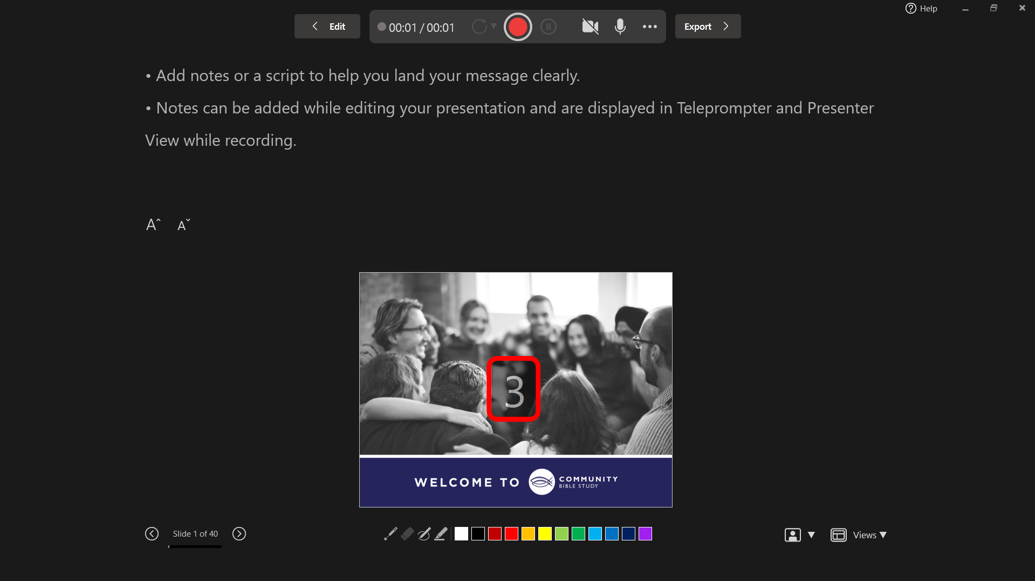
8.) A countdown from 3 will be displayed on screen. Pause for a moment after 1 to start speaking.
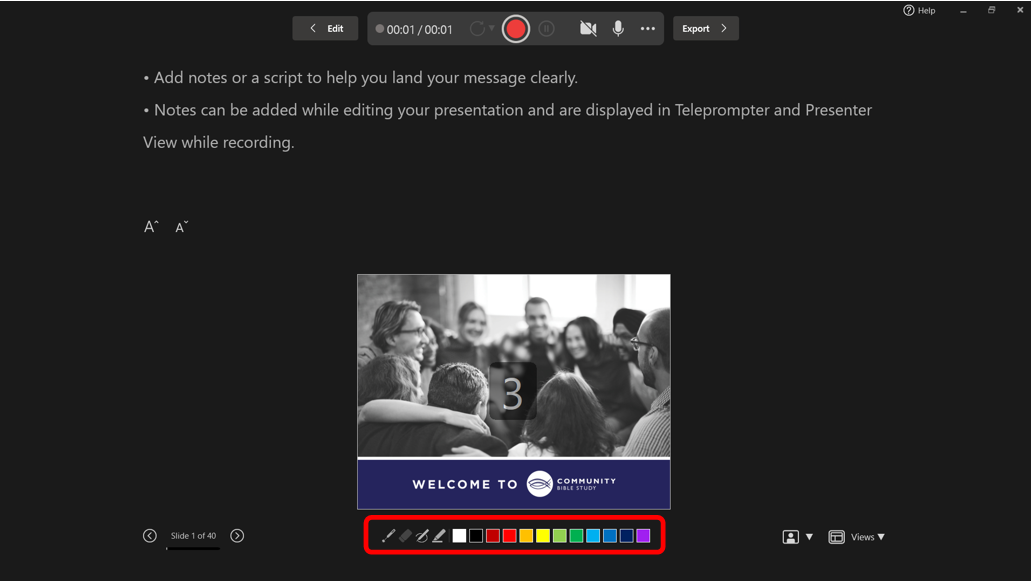
9.) If needed, you can use the pens to point out details of a slide. Your drawing is animated in the recording.
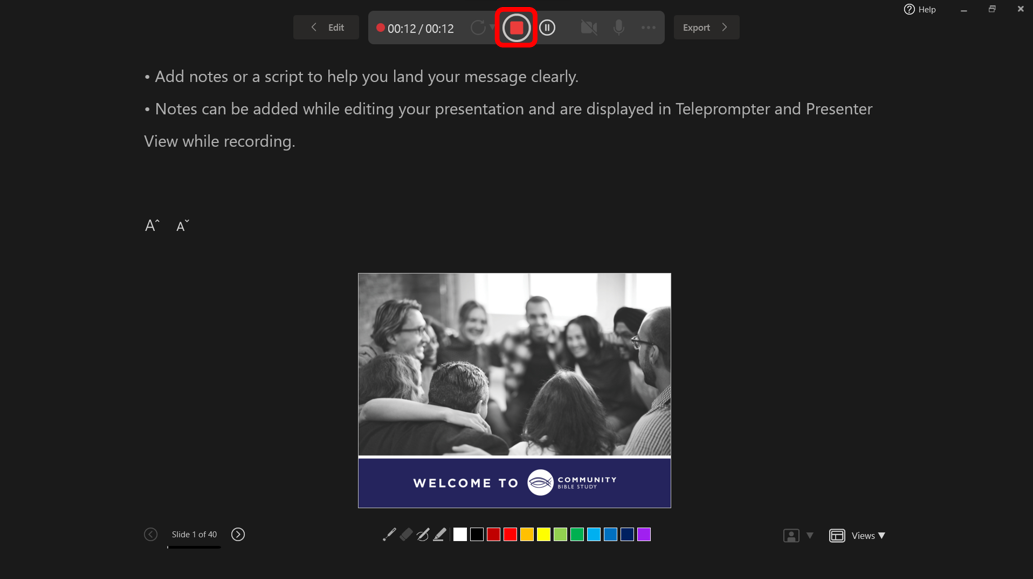
10.) Once you are done recording this slide, pause for a moment, then click STOP.
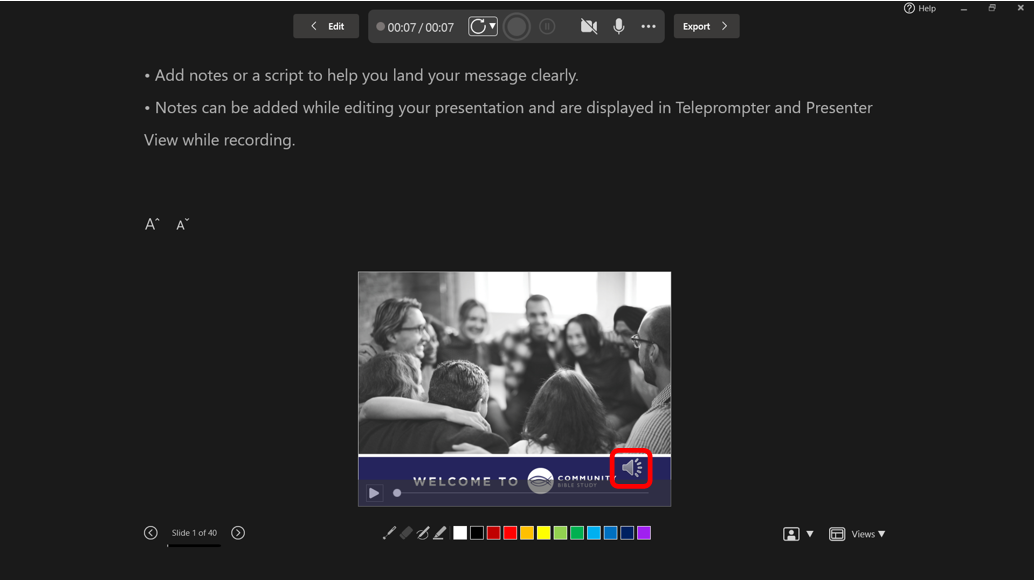
11.) An icon will appear to show that audio has been recorded on the slide. For video, the image of the video will be displayed.
AUDIO:
VIDEO:
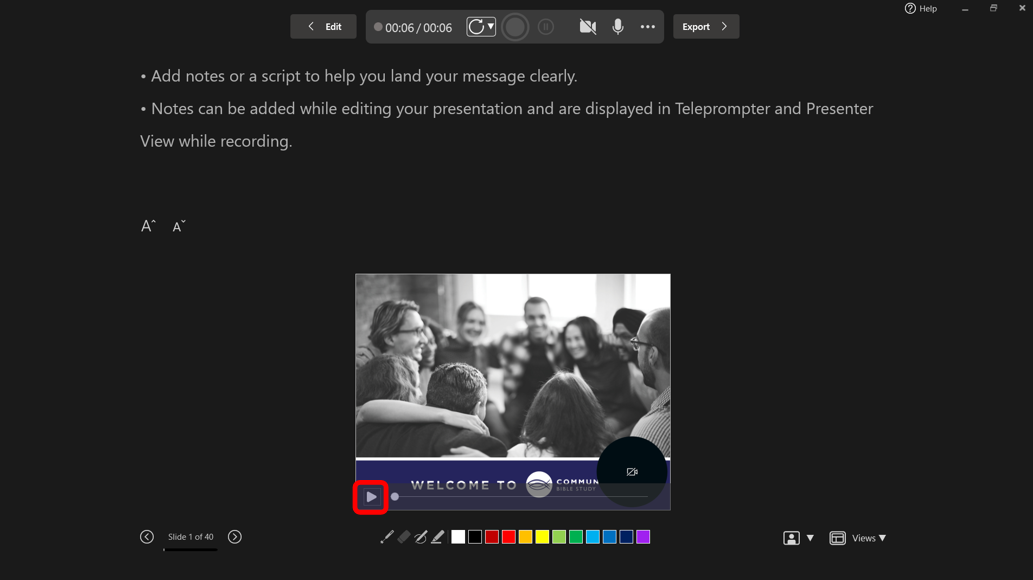
12.) Click REPLAY to review your recording on a slide.
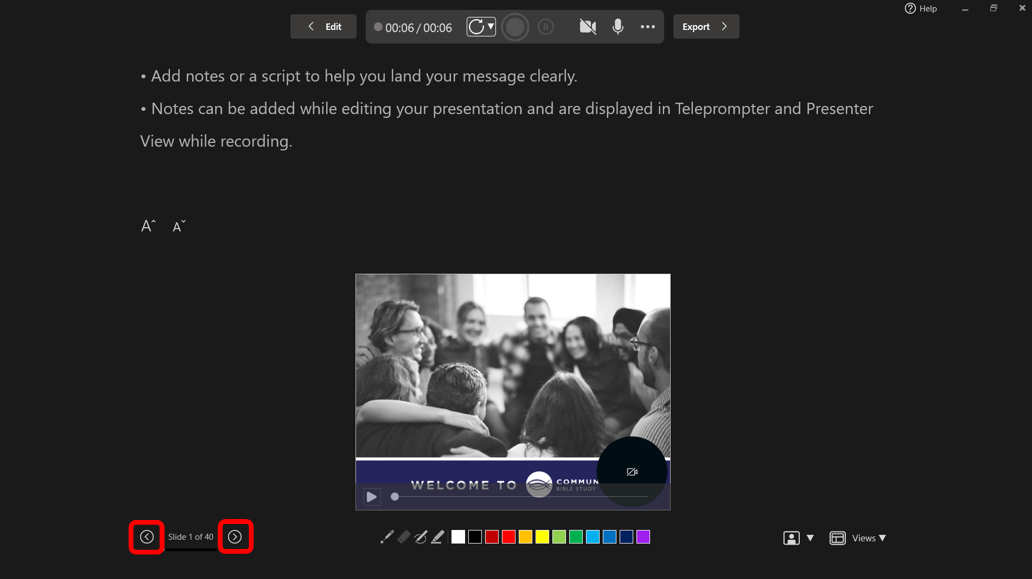
13.) Click the right arrow to move to the next slide. Click the left arrow to move back a slide.
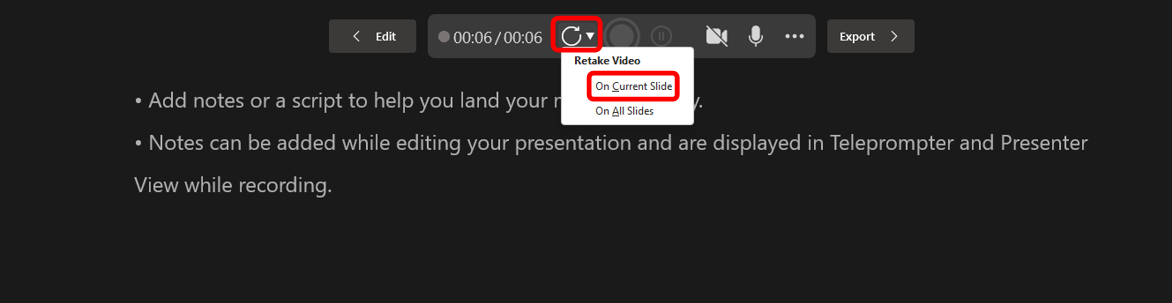
14.) If you need to re-record a slide, click RECORD and re-record as needed. The entire slide must be recorded, not just a portion of the slide. Multiple takes are fine; however, you won’t be able to choose a take. PowerPoint will use only your most recently recorded take.
15.) When you have completed recording all of your slides, click the right arrow or X to exit to the main screen.

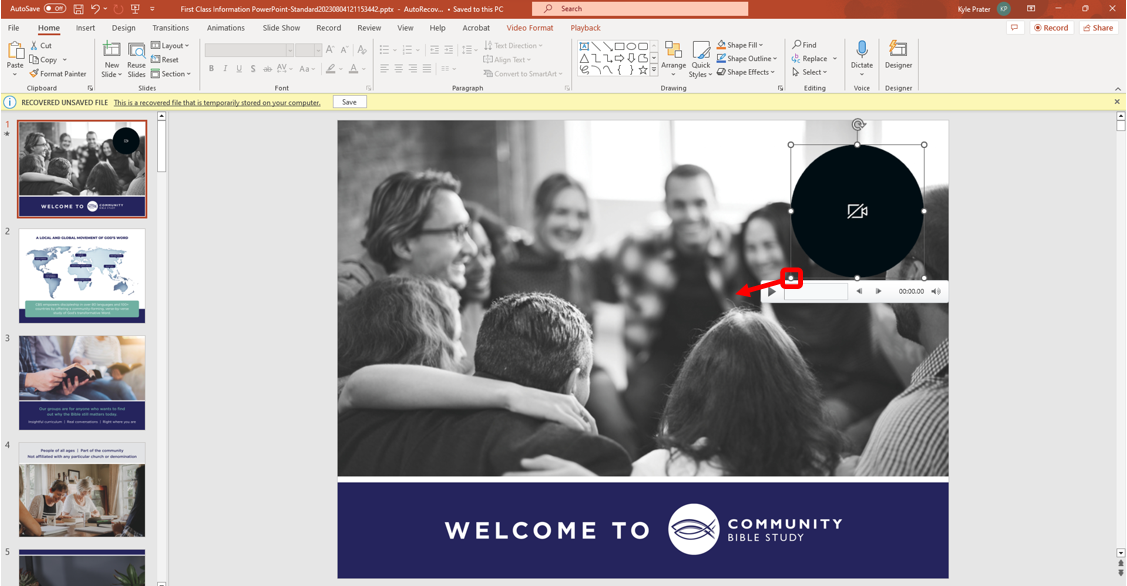
NOTE: Once you have finished recording your video, you can edit the size and location of the video for each slide.
a.) Click the slide you want to edit, then click the video clip to select.

b.) Move the video clip to the new location on the slide.
c.) Drag the corner of the video clip to enlarge the video.
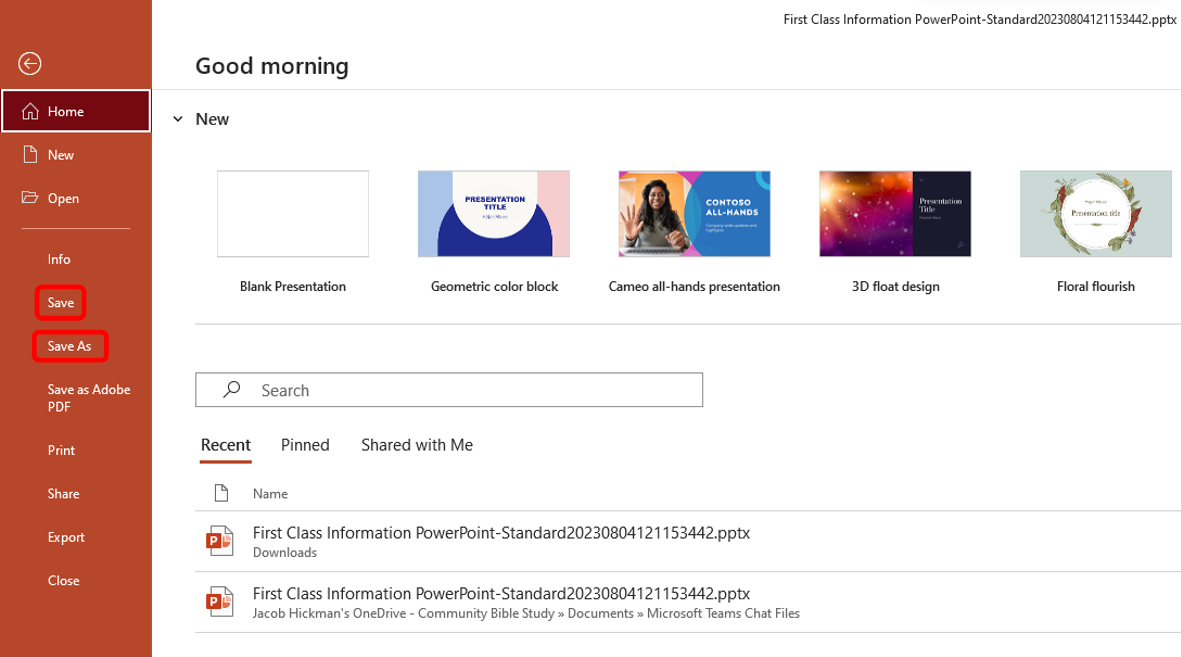
16.) Be sure to click SAVE or use the File menu and select Save or Save As to save the file with a new name.

NOTE: If there is more than one speaker in a PowerPoint, you can record your slides, then share via DropBox to let other collaborators download and add their portions to the training.
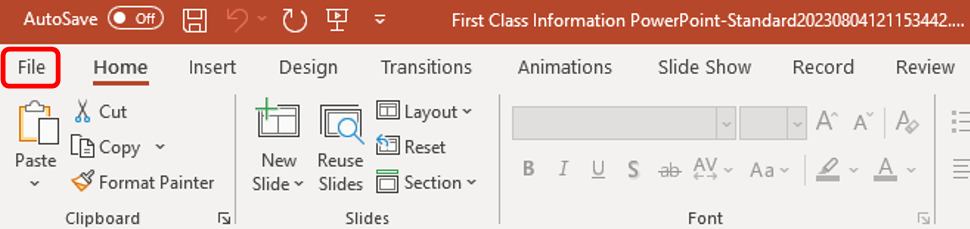
17.) Once your have completed your training and saved, you need to export the file to a movie. Click File.
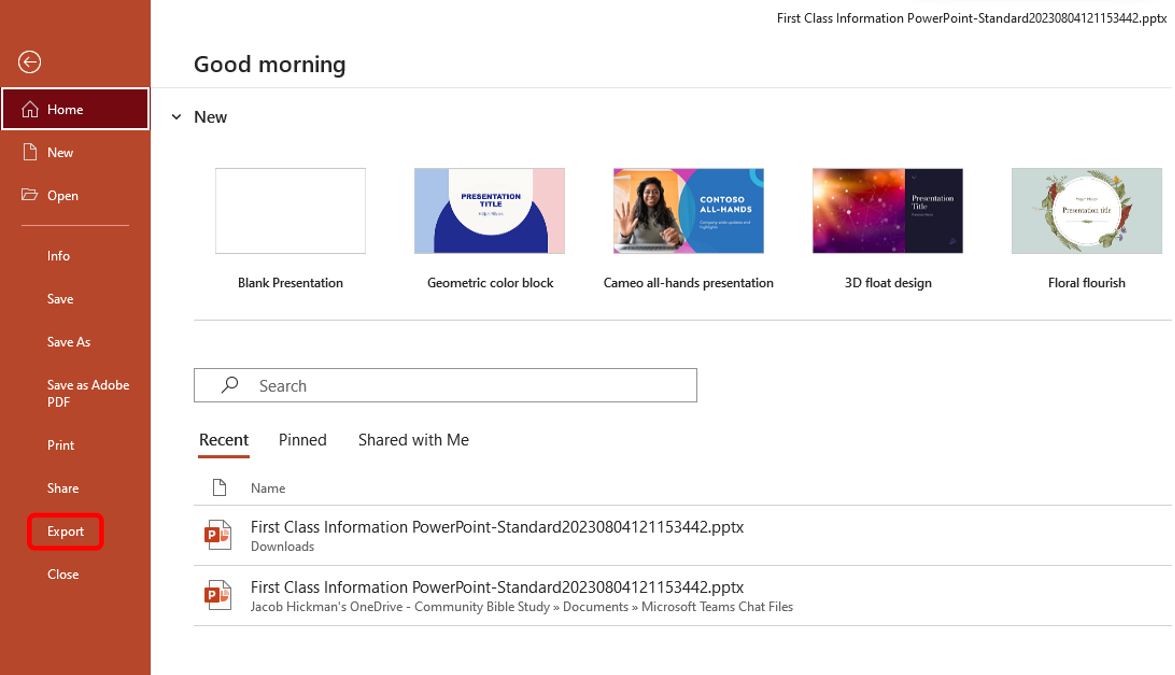
18.) Click Export.
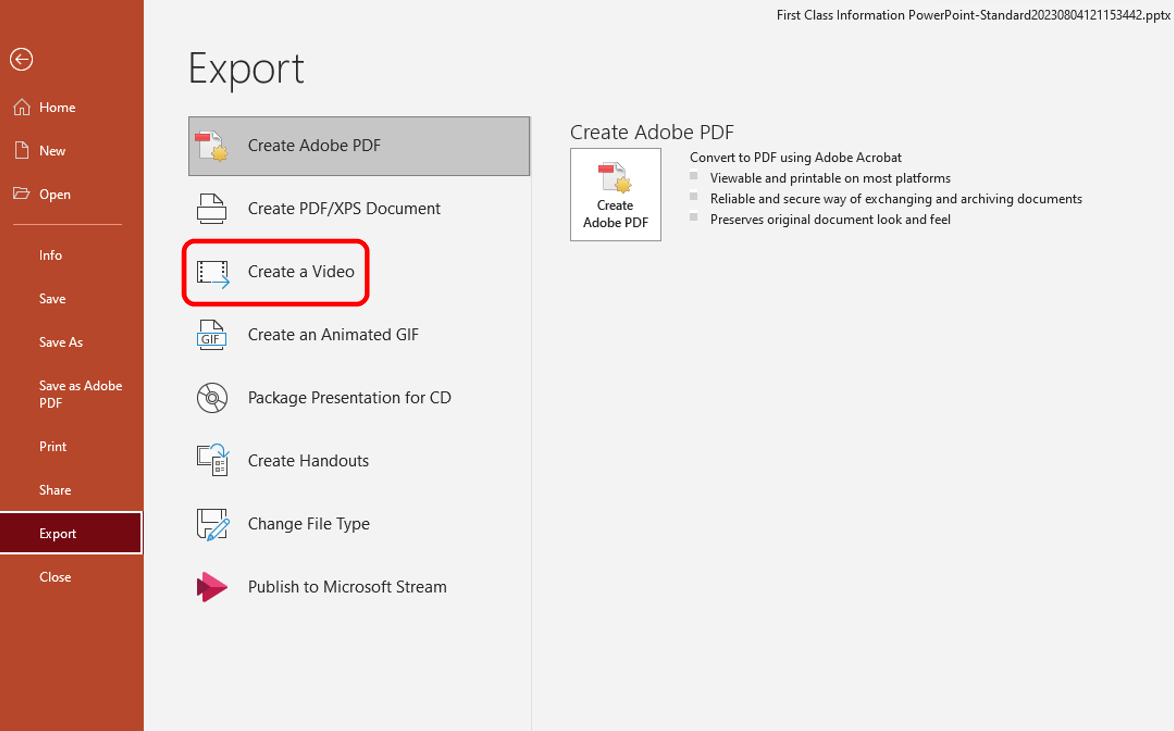
19.) Click Create a Video.
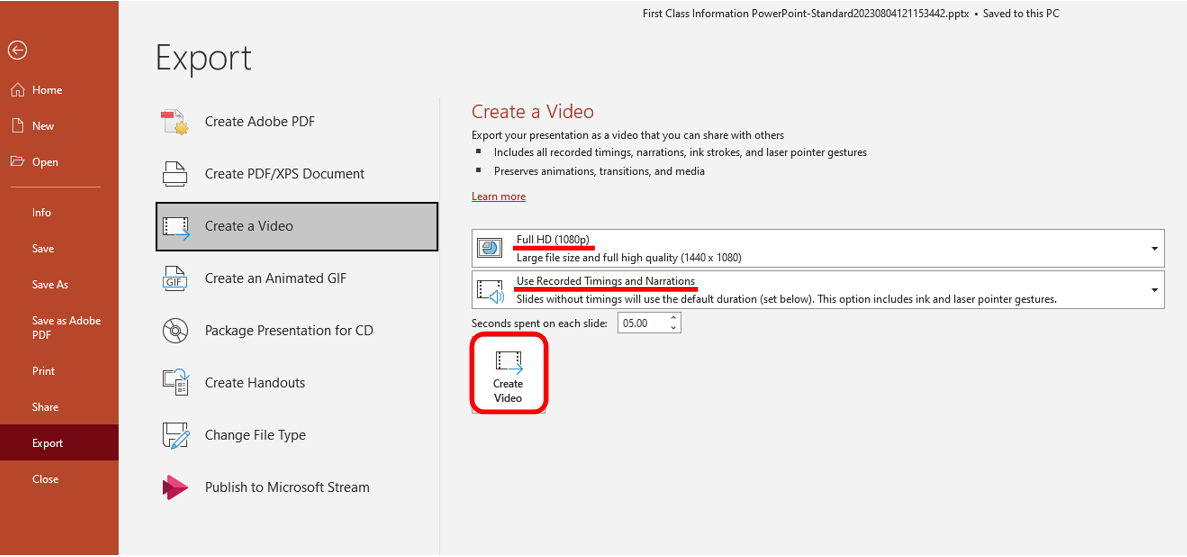
20.) Verify the settings are set to Full HD (1080p) and Use Recorded Timings and Narrations. Then, click Create Video.
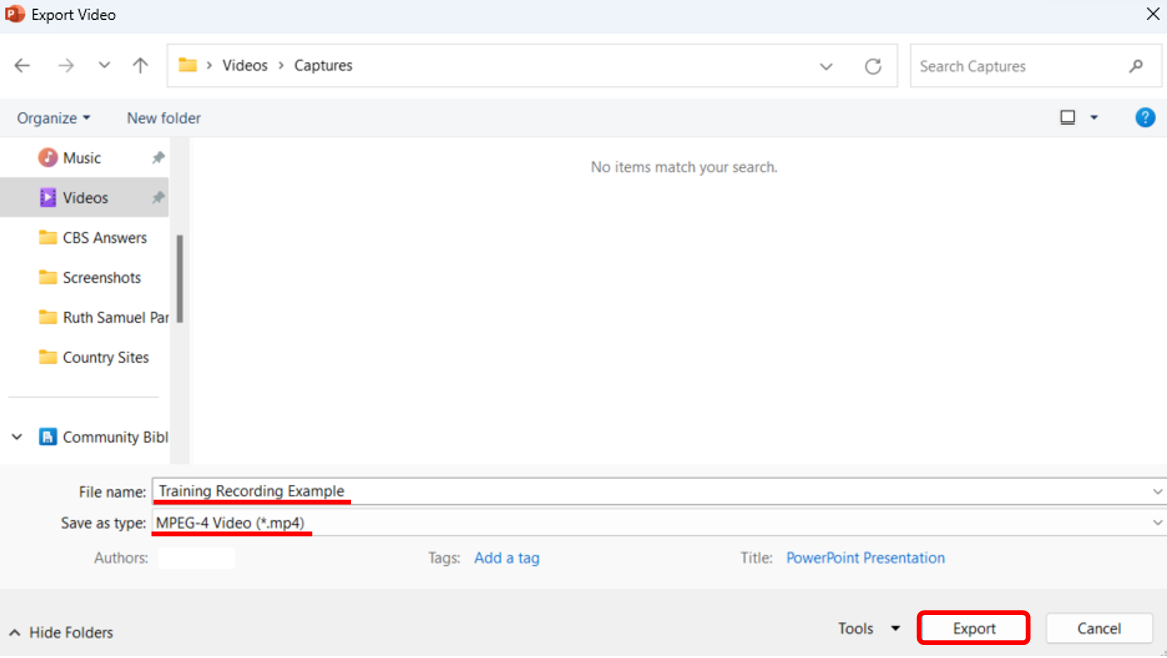
21.) Verify the File name and Save as type: MPEG-4 Video. Then, click Export.
22.) Upload the exported movie file to the Drafts Folder in Teams.