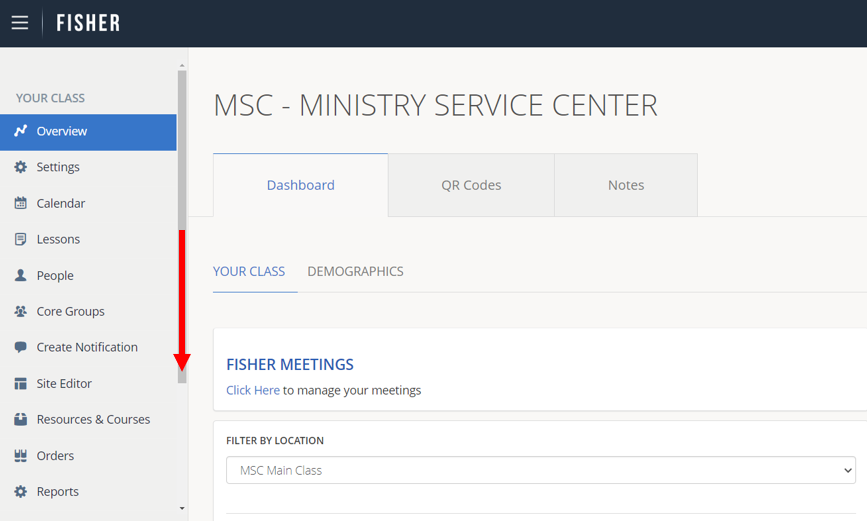
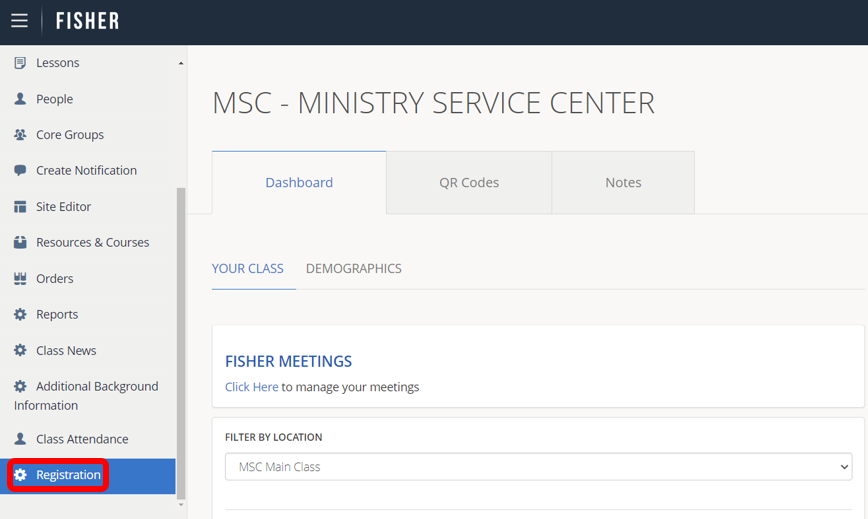
1.) To create a Remote Location for Registration, scroll down on the left pane and click Registration.
2.) Click Manage Registration Options.
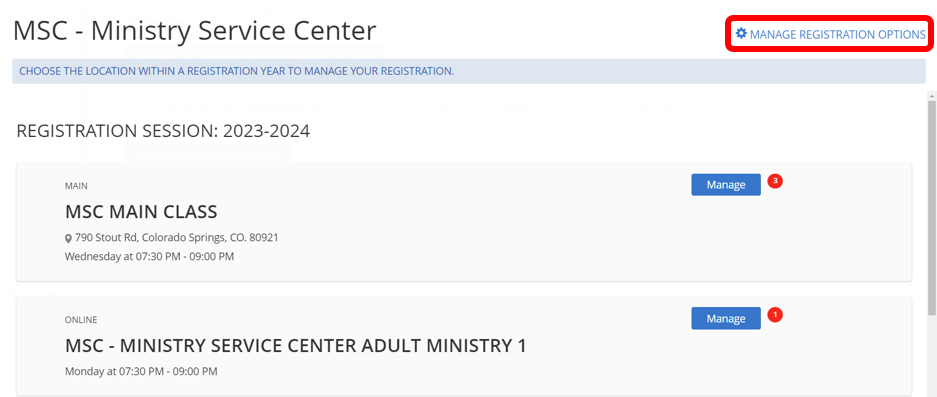
3.) Choose the class year you want to modify. Any options you select only affect the selected year.
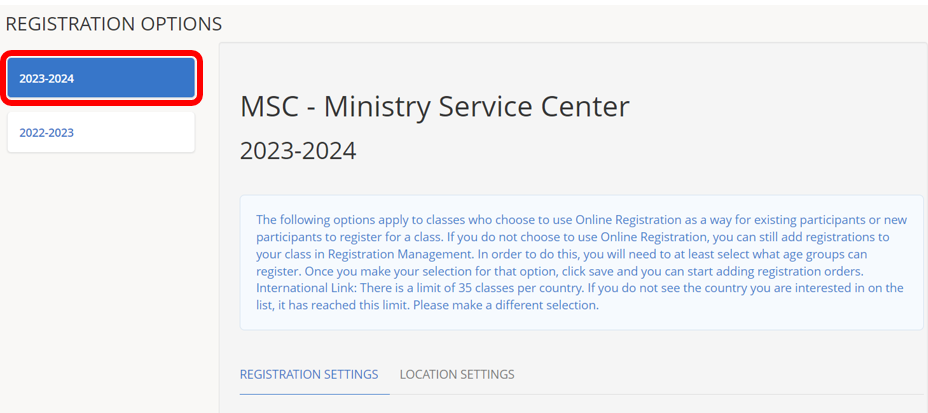
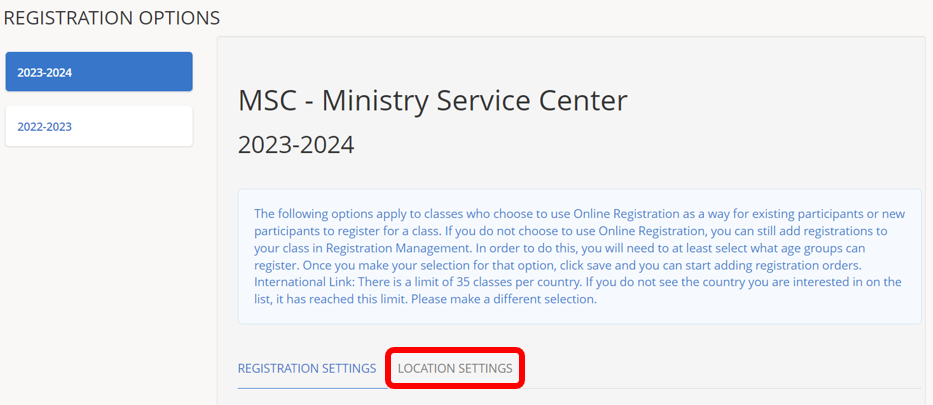
4.) Click Location Settings.
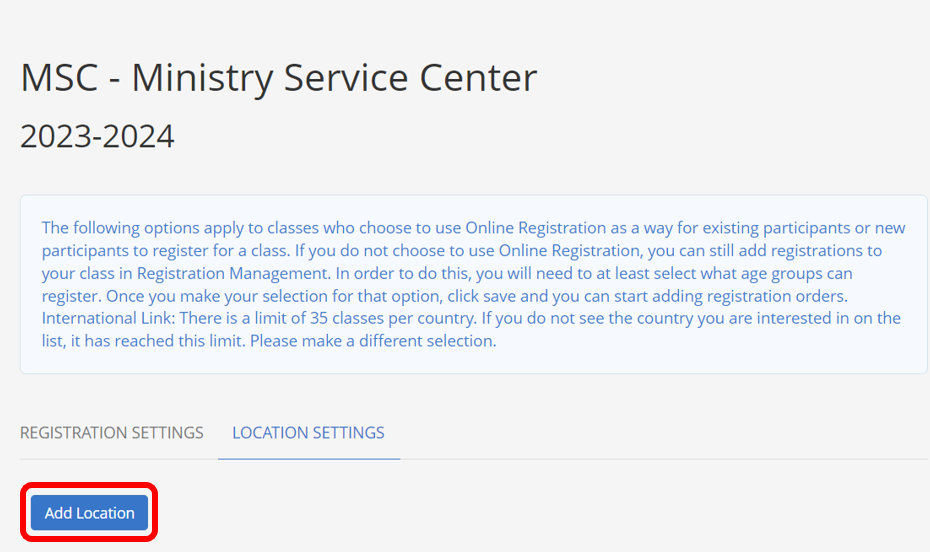
5.) Click Add Location.
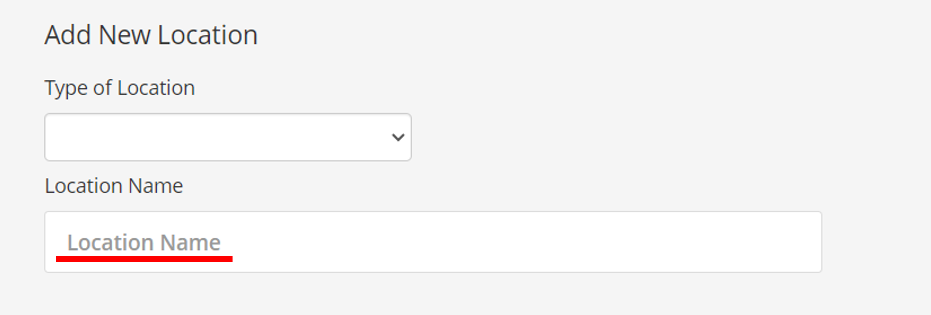
6.) Use the drop-down menu to select Remote Location.
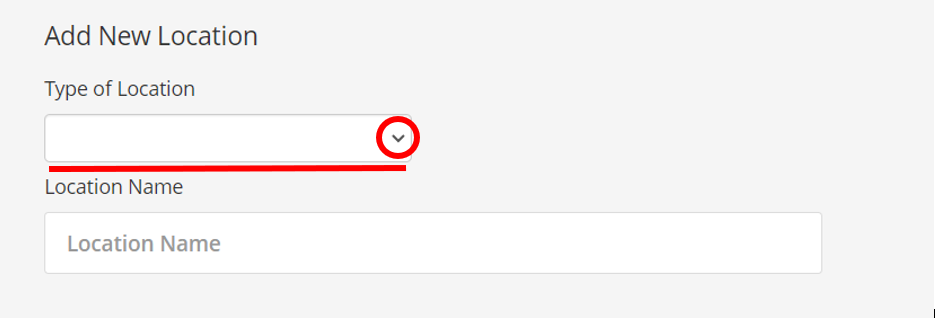
7.) Type the Location Name.
8.) Click the check box for Who Can Register? If you are an adults only class, click Adults. If you have a children’s program or are a student class, select Adults and Children.

9.) Click Yes under Add Banner? if you would you like to add an optional banner. Otherwise, click No.
The optional banners will appear on your class website, FISHER login when members click to register, and in the Online Class Finder.
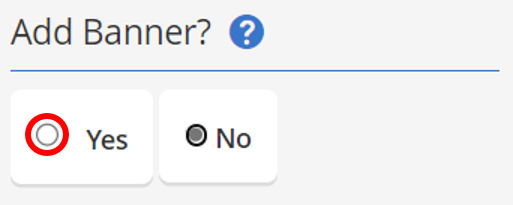
If you selected Yes, choose the type of banner.
Choose Alert if you want to alert registrants of somethin.
Choose Information if you want to provide additional information.
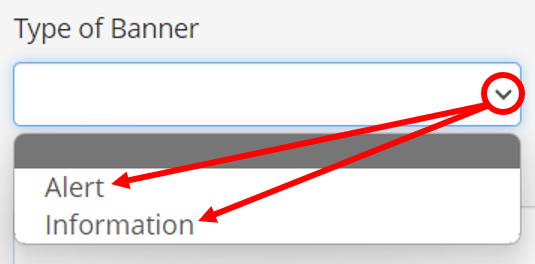
Type in your Banner Note.

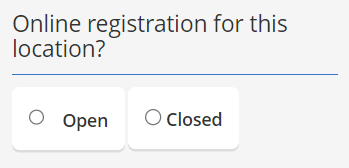
10.) Select Online Registration for this Location. Choose Open to turn ON Online Regsitration for the chosen location. Choose Closed to turn OFF Online Regsitration for the chosen location. (Example: If the selected location is at capacity, you can close online registration for the location, but you can still manually add members.)
11.) Choose the Demographic for the selected location.

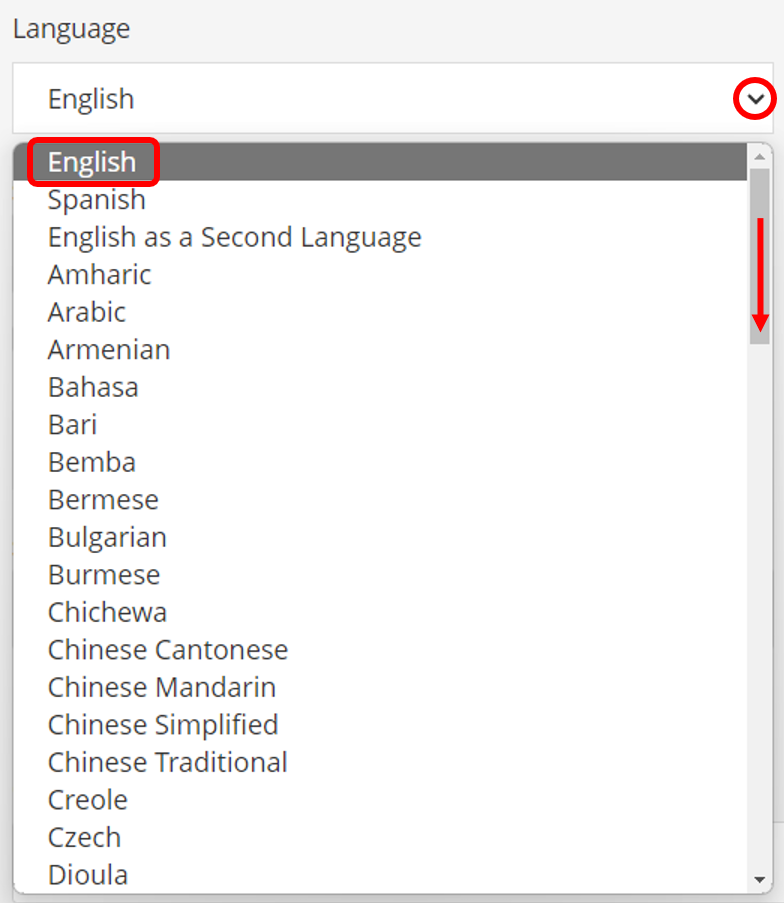
12.) Use the drop-down menu to select a Language, scroll down for additional language options.
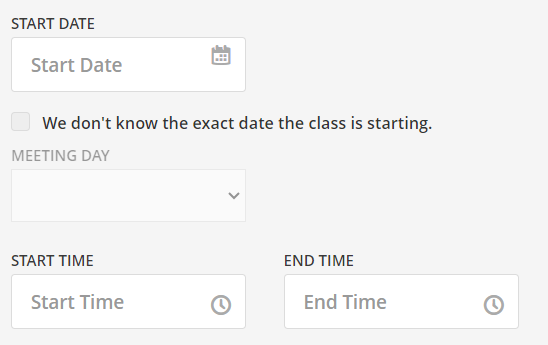
13.) Select a Start Date, Start Time, and End Time for the selected location.
If you don’t know your exact starting date yet, click the check box next to We don’t know the exact date the class is starting. Then, choose a Meeting Day. This can be updated later.
14.) Enter the location Country, Address, State, City, and ZIP Code.

15.) Enter a Description about this location. This information will appear on your class website when Find out more to Register is selected. For example: Share information about your class, meeting times, location, courses, etc.

16.) Click Save to save your changes.
