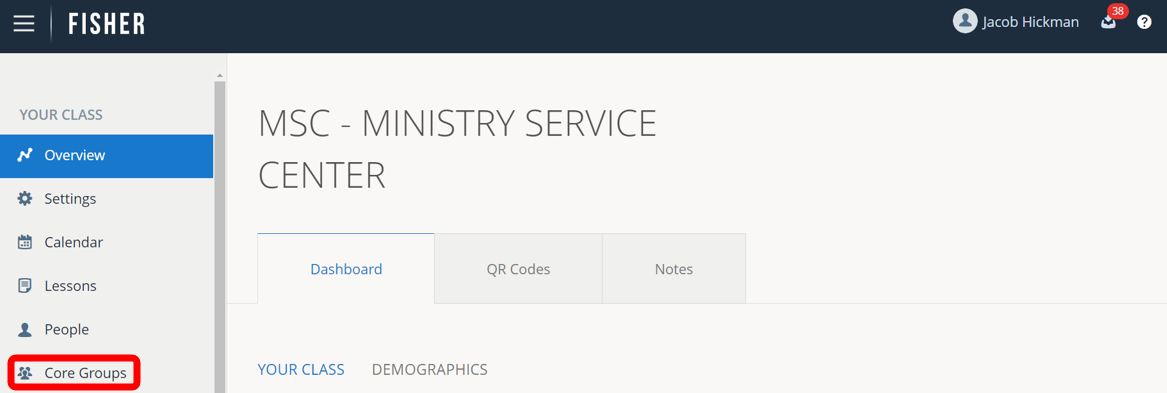
1.) To create a Core Group, click on Core Groups in the left pane.
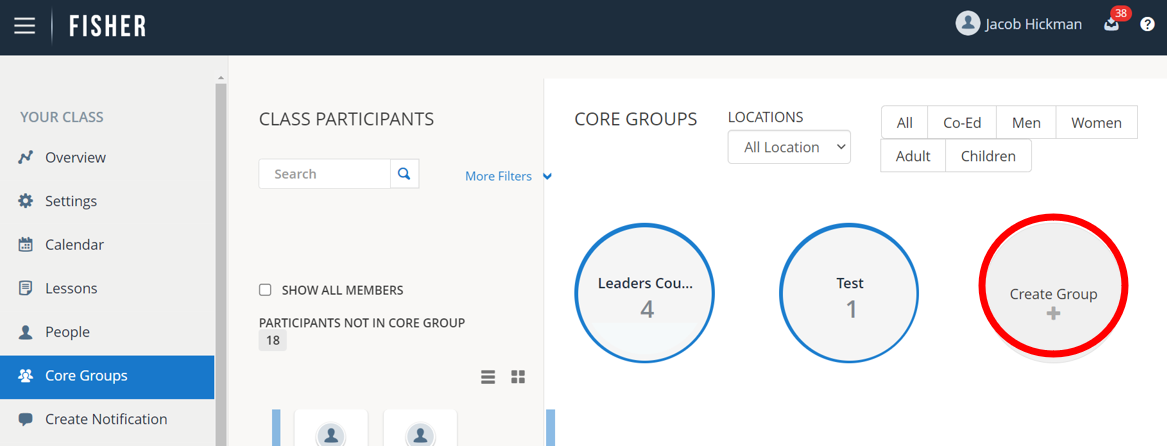
2.) Click on Create Group.
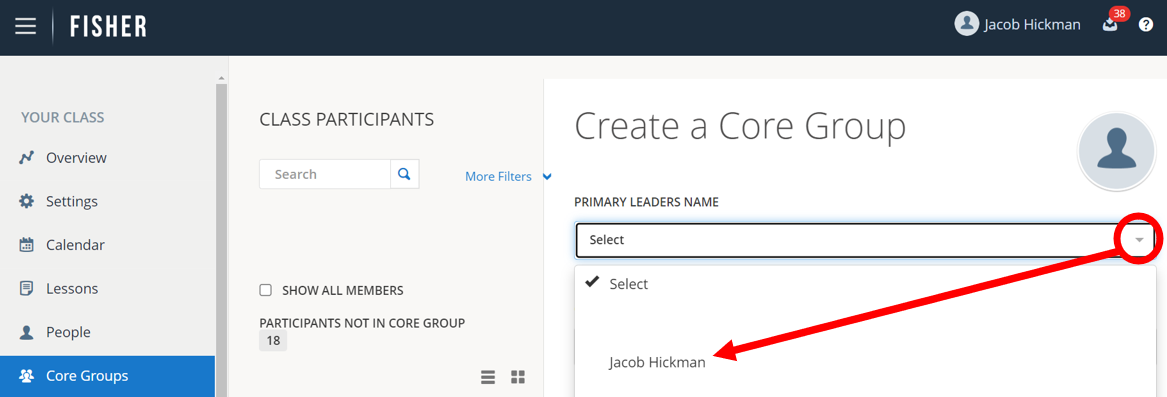
3.) Select the Core Leader from the Primary Leaders Name drop-down list. If you do not see your Core Leaders name you will need to add them as a Leader, see “Adding a New Leader”.
4.) Give your Core Group a name.

5.) Click to select a Location for the event. For example the Main Class location or a Remote Location.

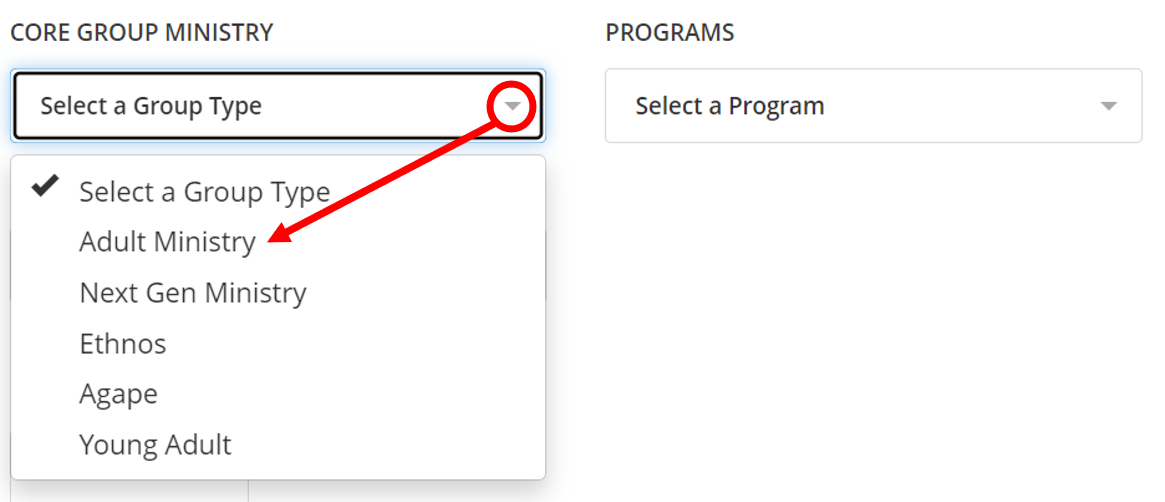
6.) Select the Core Group Ministry from the drop-down list. For Adult Core Groups, select Day Ministry or Evening Ministry. For Children’s Core Groups, select Children’s Ministry. In the example, which is an Evening Class, Evening Ministry is the only selection available.
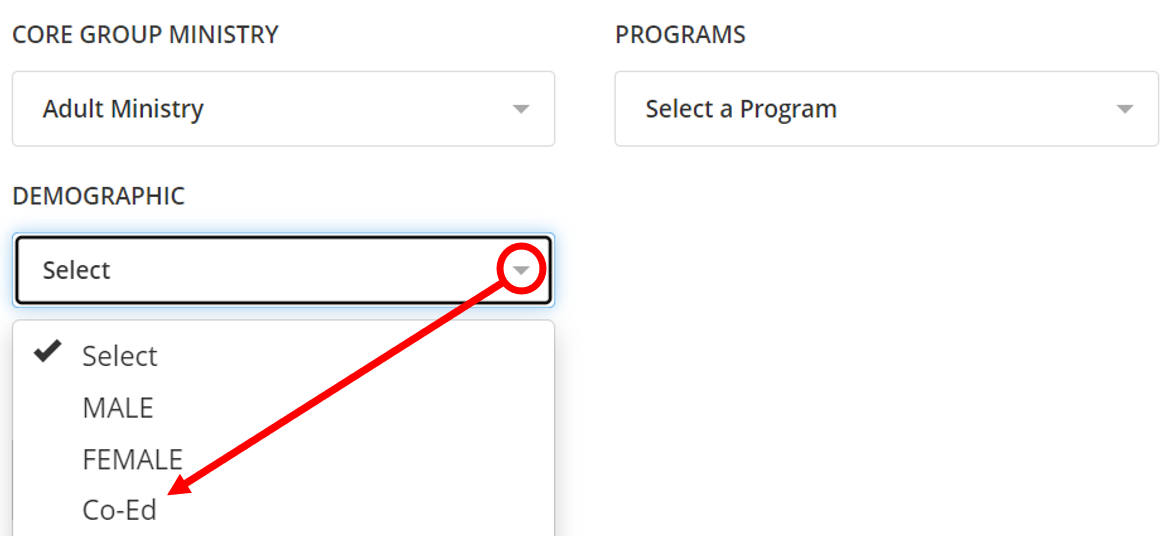
7.) Select the Demographic/Gender the Core Group will be.
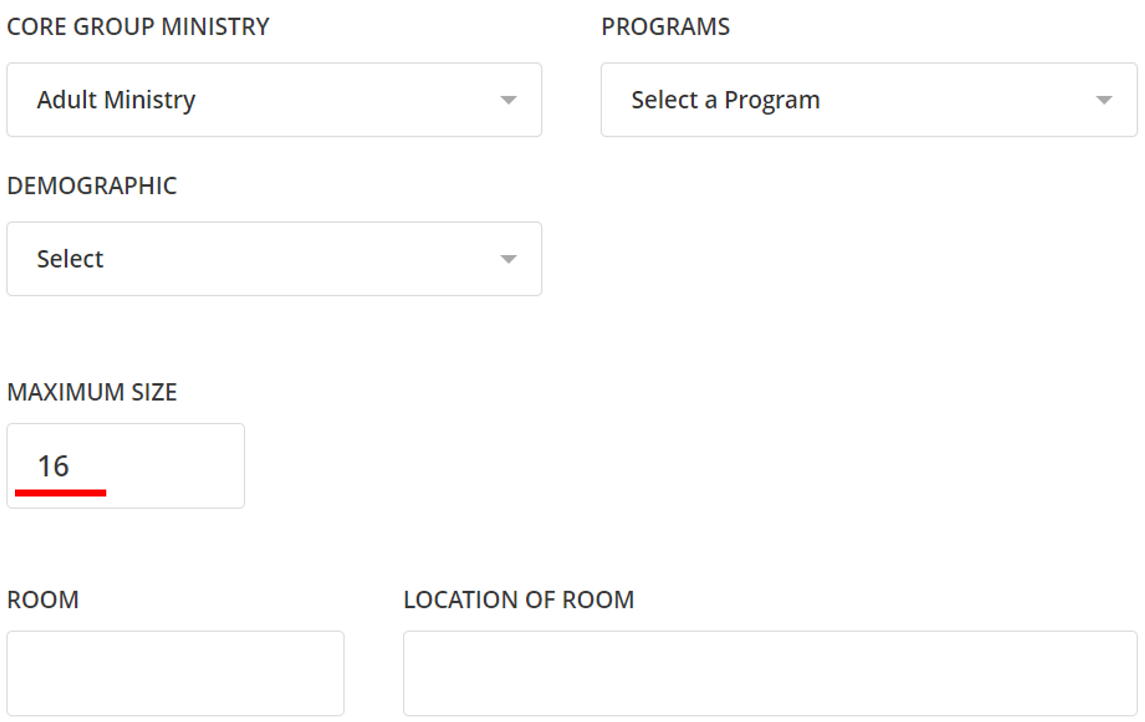
8.) If the Core Group has a Maximum Size, enter the total allowed including the Core Group Leader and Co-leader if available. If a maximum size is set, Fisher will not allow you to assign more than that number of participants to the Core Group.
9.) If available, select which Course the Core group is Studying. Courses are listed based on the types of Core Groups available in your class, e.g. Adults, Children, Ethnos, etc.
10.) All other data is optional, but may be included for informational or administrative purposes.

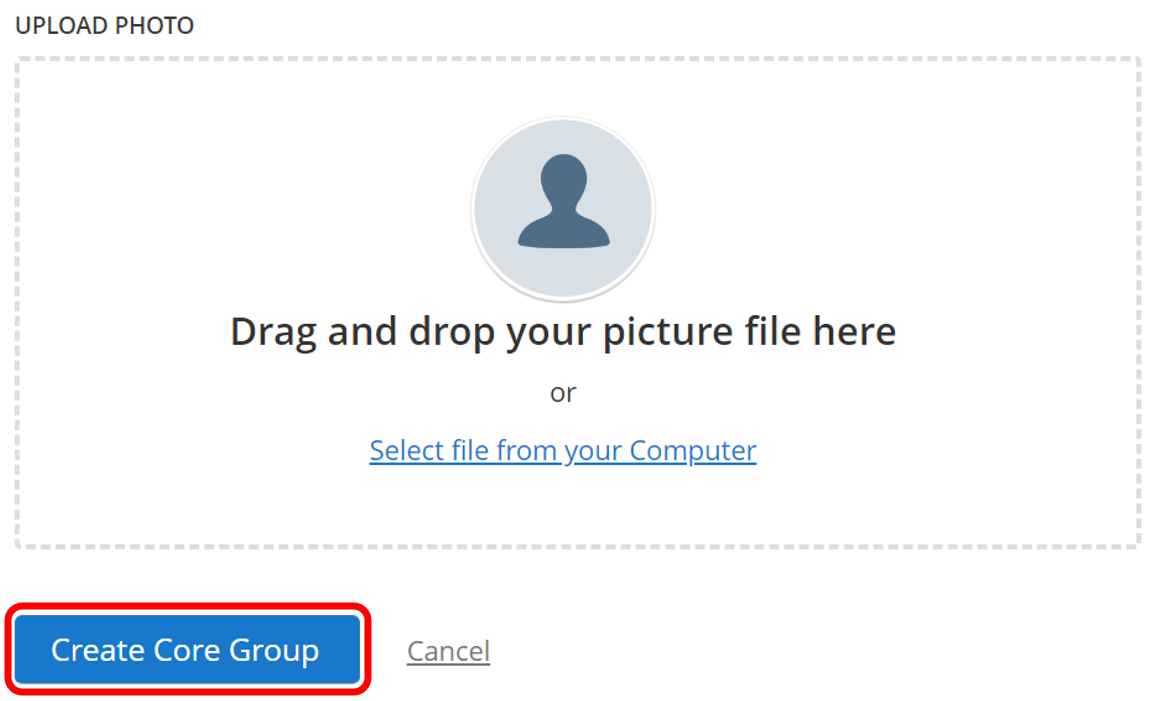
11.) You have the option to upload a Picture of the Core Group.
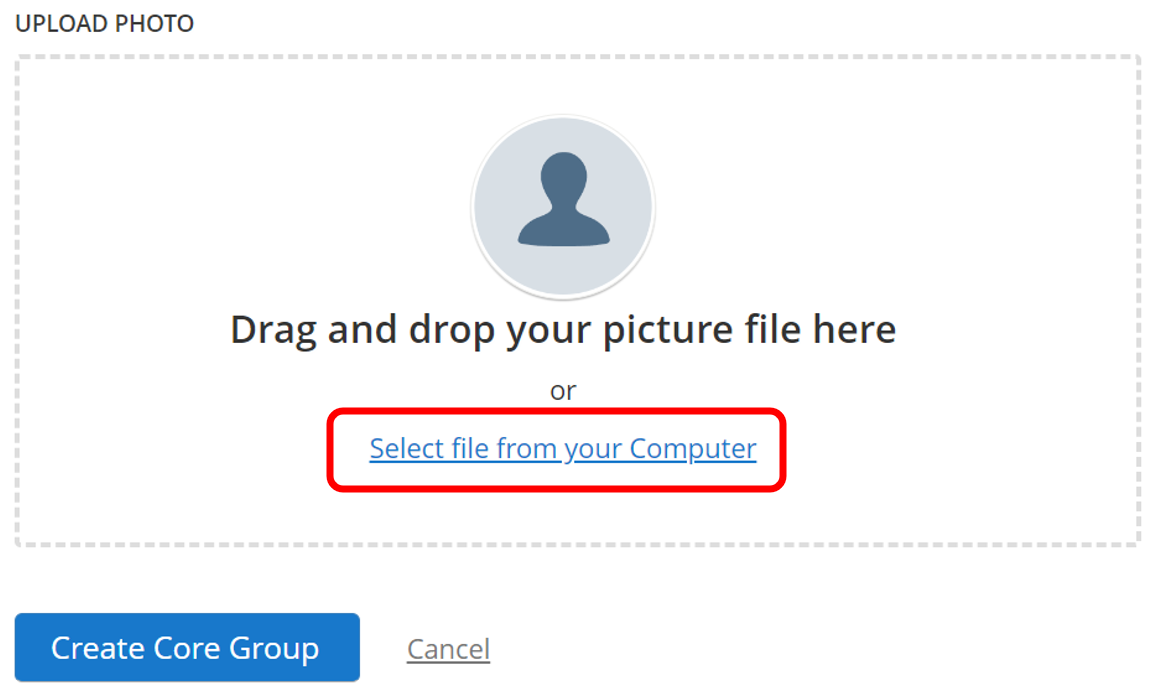
12.) Click on Create Core Group to save.