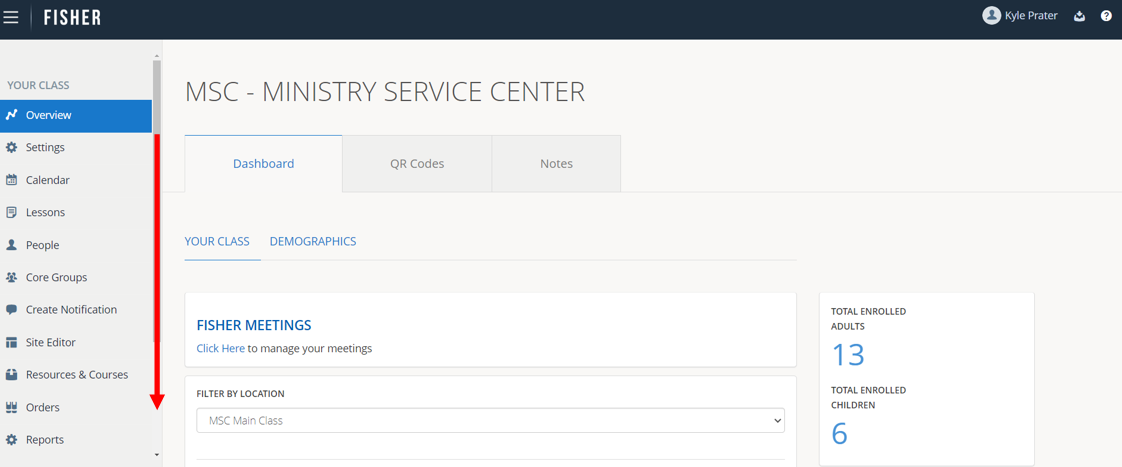
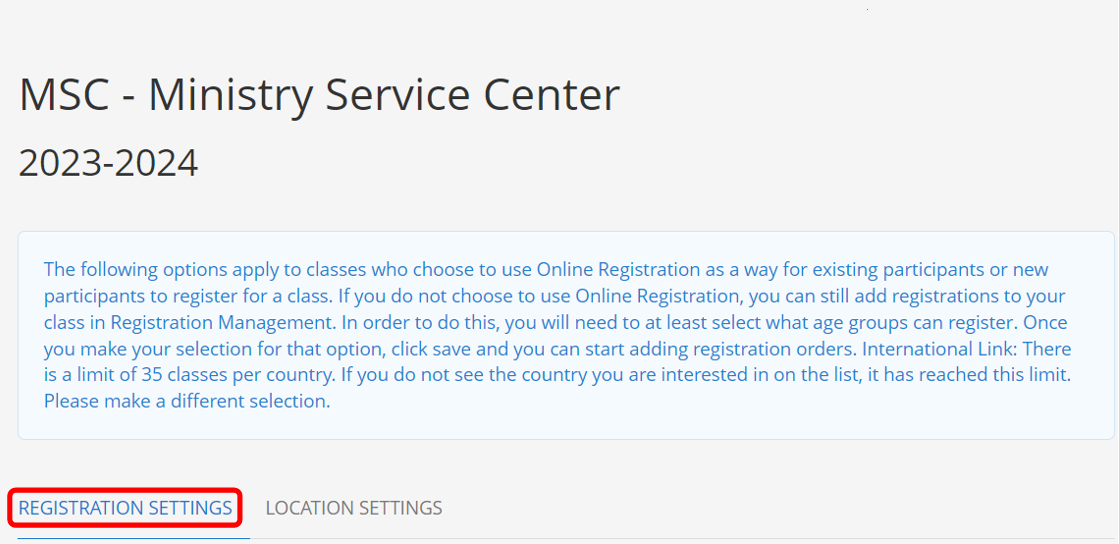
1.) To update your class’ Registration Options, scroll down on the left pane and click Registration.

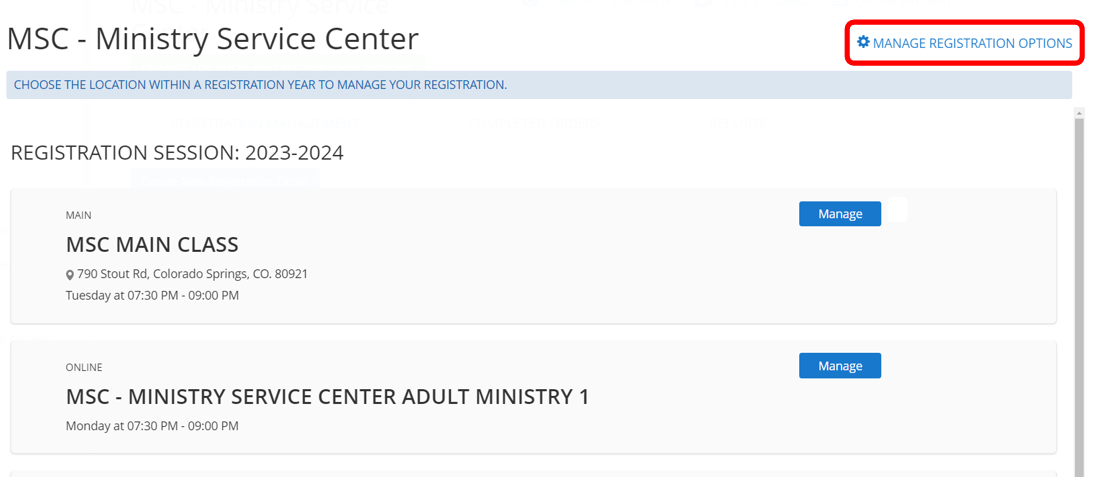
2.) Click Manage Registration Options.
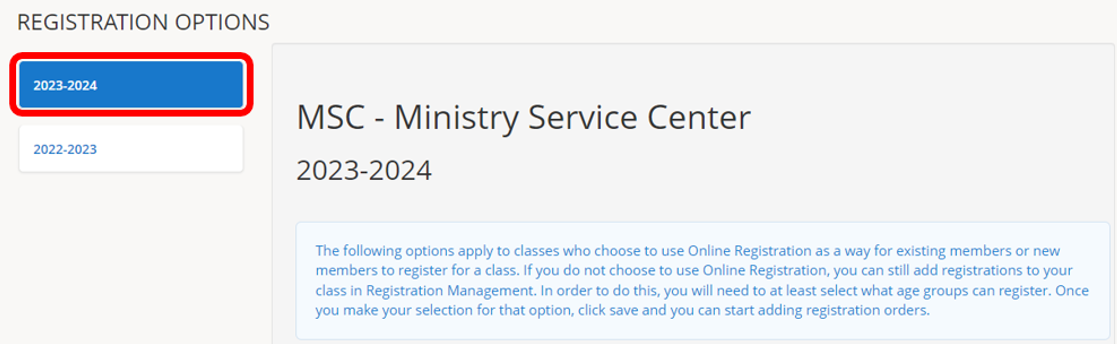
3.) Choose the class year you want to modify. Any options you select only affect the selected year.
See the following steps to set up your Registration Options.
Once complete, you may also need to set up your Locations Settings.
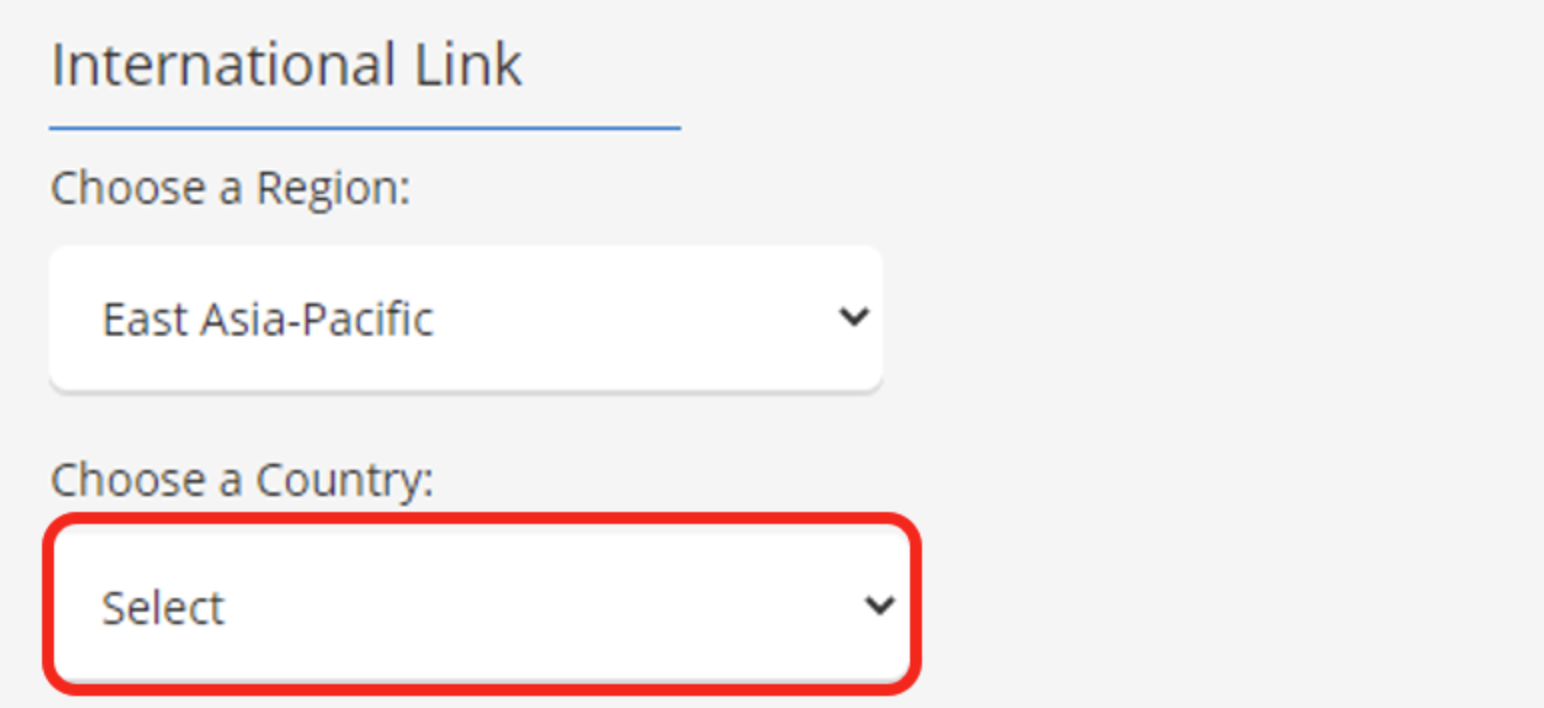
4.) International Link – Select a Region from the Choose a Region drop-down list.
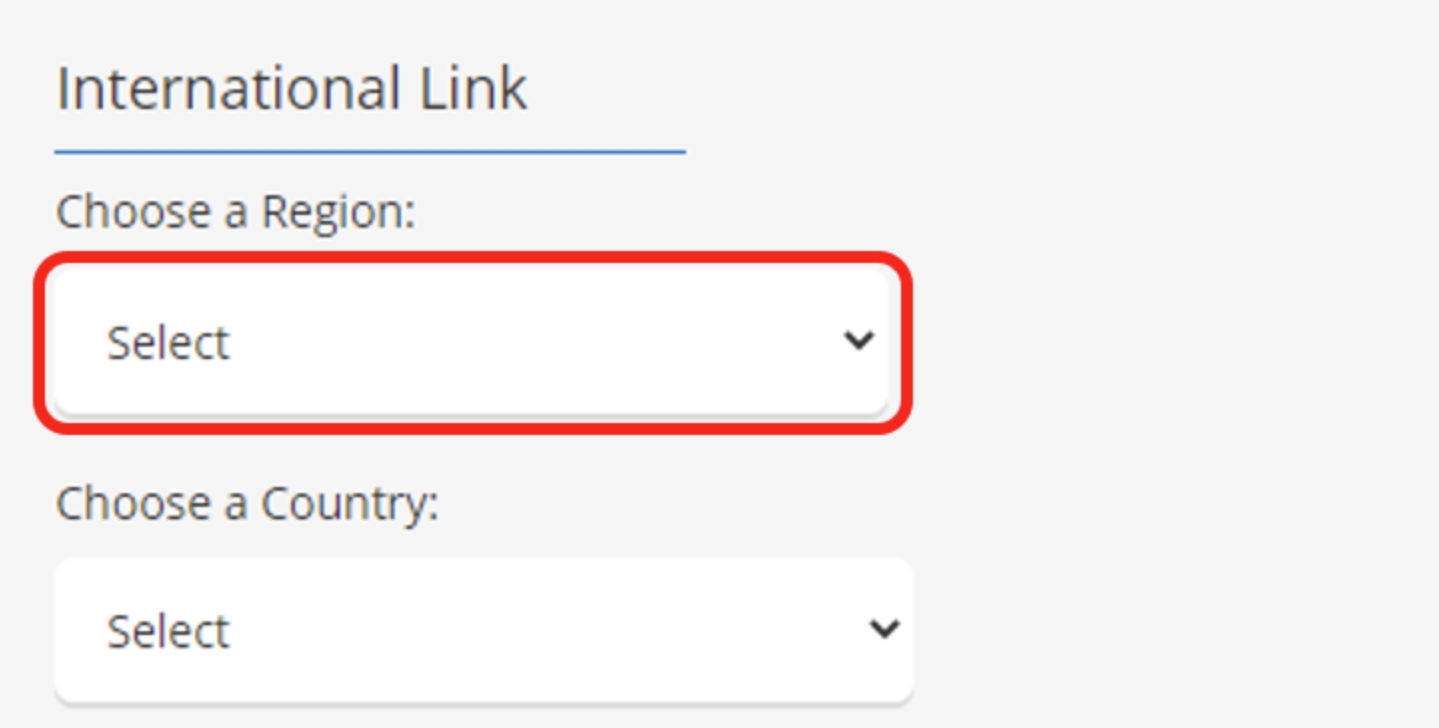
Select a Country from the Choose a Country drop-down list.
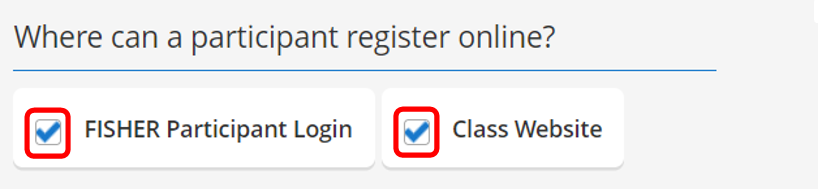
5.) Where can a participant register online?
Select FISHER Participant Login to allow active participants currently in a class to register for the upcoming year when they log in to FISHER.
Select Class Website to allow new and existing participants to register for the current or upcoming years from your class website.
Instructions can be found here:
Register Online – FISHER Participant Login
Register Online – Class Website
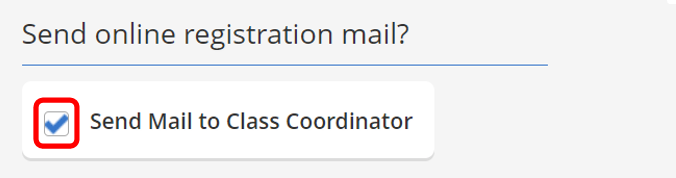
6.) Send online registration email? When an online registration is submitted, the system will send an email notification to the class Coordinator. Uncheck this box if you do not want to receive these email notifications.
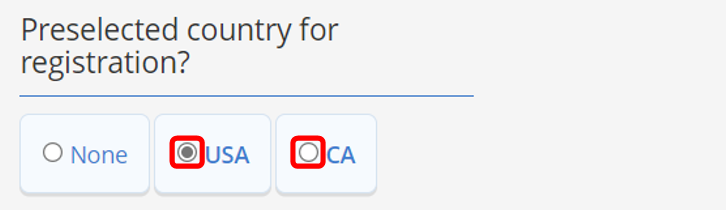
7.) If you would like set a Preselected Country for Registration, click USA for the United States or CA for Canada.
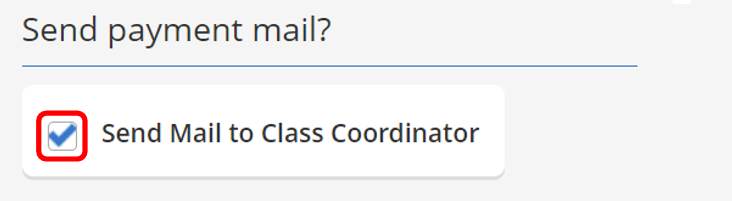
8.) Send payment email? When an online registration is submitted, the system will send an email notification to the class Coordinator. Uncheck this box if you do not want to receive these email notifications.
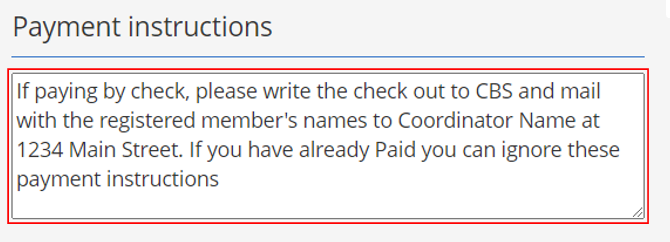
9.) Payment instructions: Enter any specific information regarding payment instructions. For example: “If paying by check, please write the check out to CBS and mail with the registered member’s names to Coordinator Name at 1234 Main Street.” Note: These instructions will be included in the accepted email sent to all participants when they get accepted to the class.
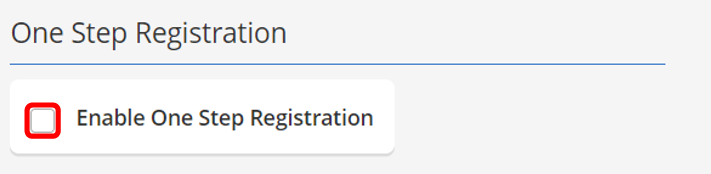
10.) One Step Registration (One-Step) – Click the check box to turn on One Step Registration OR uncheck to turn OFF One Step Registration.
When One Step Registration is turned ON:
- This option can be toggled ON and OFF as needed.
- Registrations will be automatically Commit to the Current Roster (they will not appear in the Wait List).
- Participants who register online will be able to pay after they complete registration in the same window.
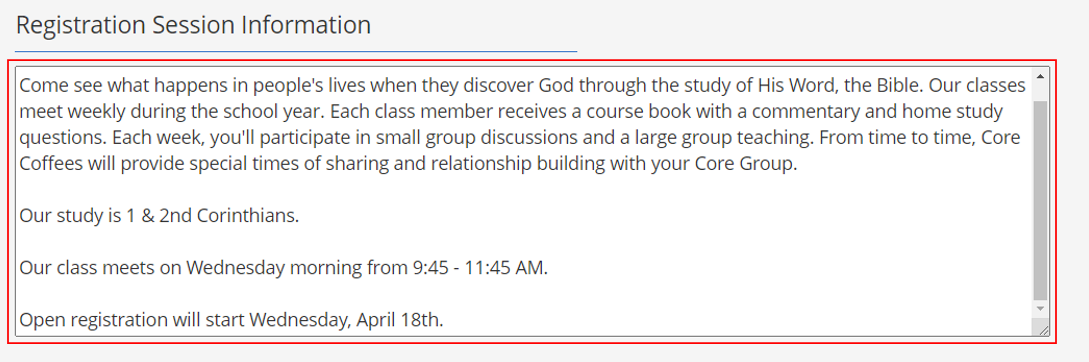
11.) Registration Session Information: Enter any desired registration session information. This information will appear on your class website when Click here for more info on this session and registration fees is selected. For example: Share information about your class, meeting times, courses, etc.
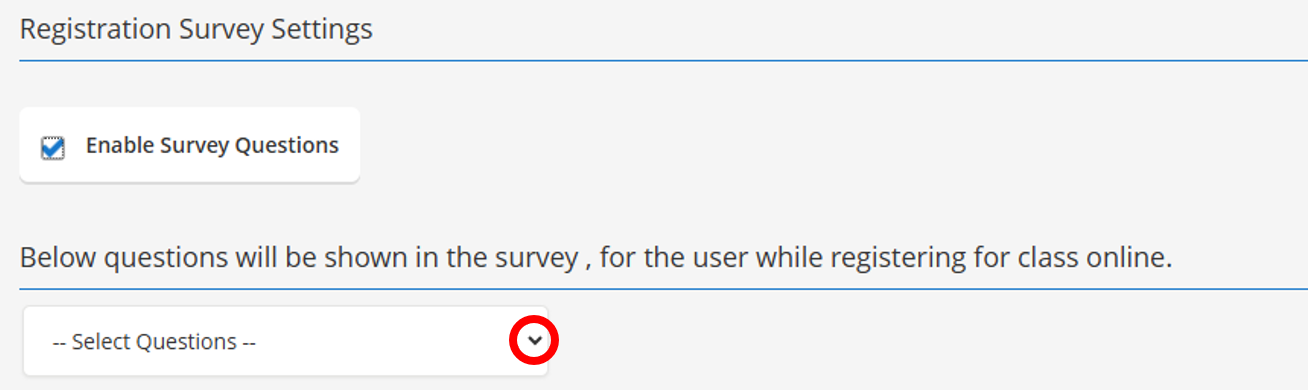
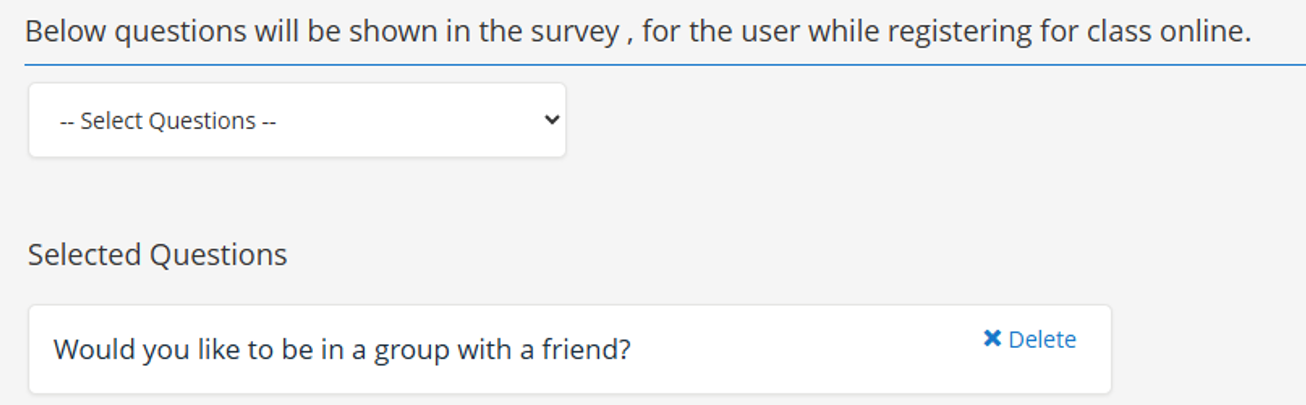
12.) Registration Survey Settings: Click Enable Survey Questions to add questions to your registering participants.

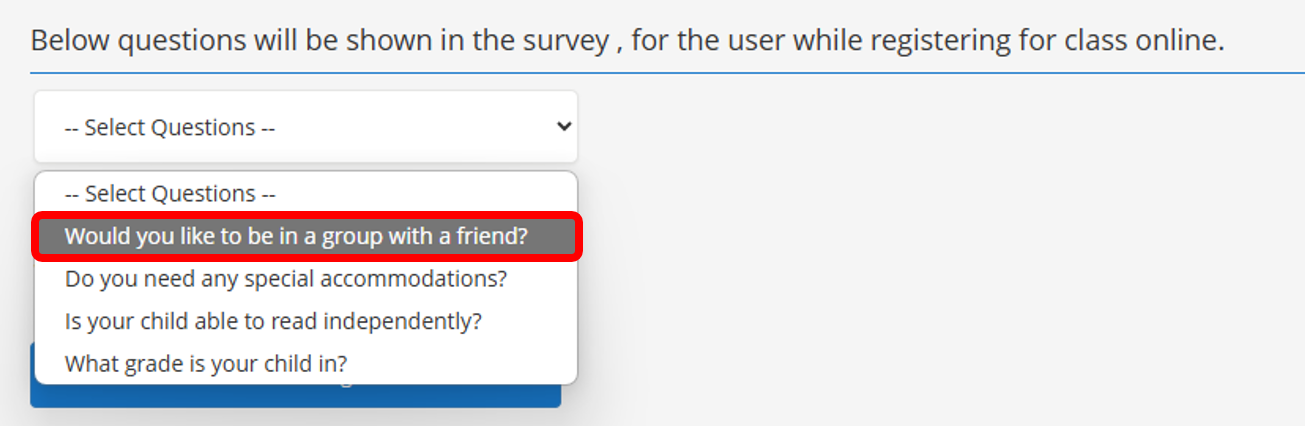
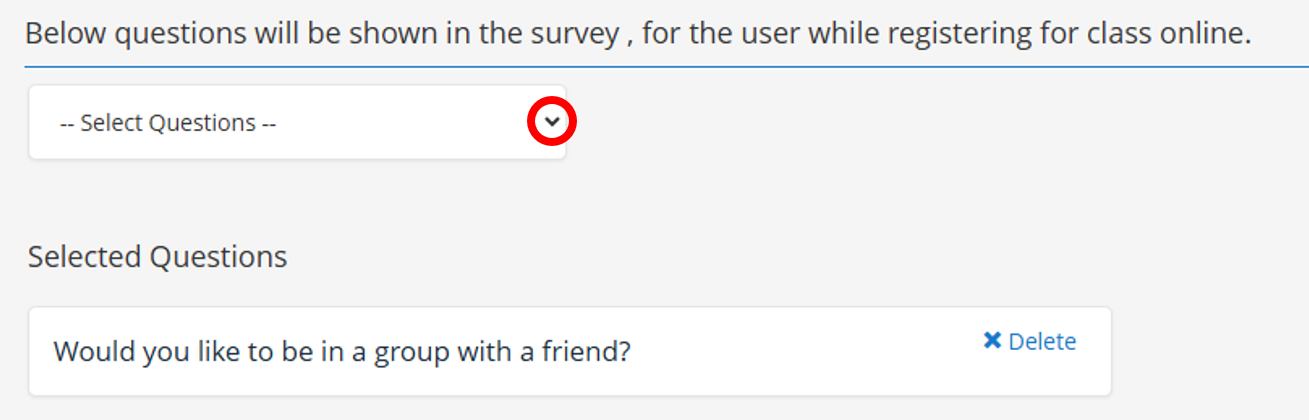
13.) Click Select Questions to select a question.
14.) Click a question to select it.
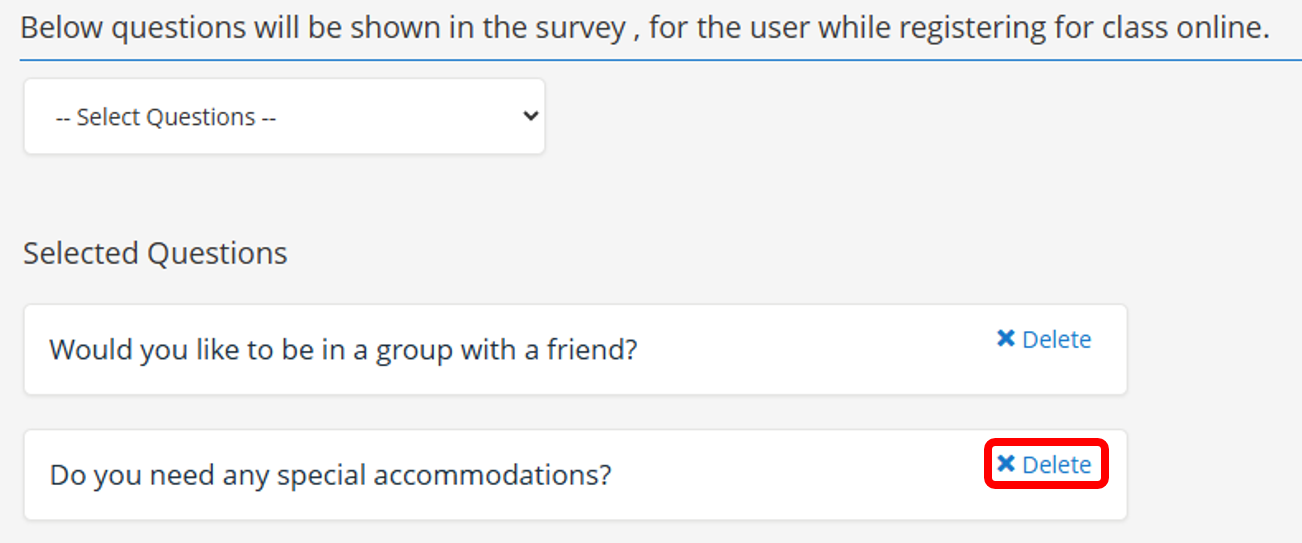
15.) The selected question will be show below, “Selected Questions”.
16.) If desired, click Select Questions to select additional questions.
17.) To delete a Selected Question, click Delete. NOTE: Once any participant answers a question, the question can be Hidden (no longer shown in registration), but not Deleted.
18.) Be sure to scroll down and click Save Settings.

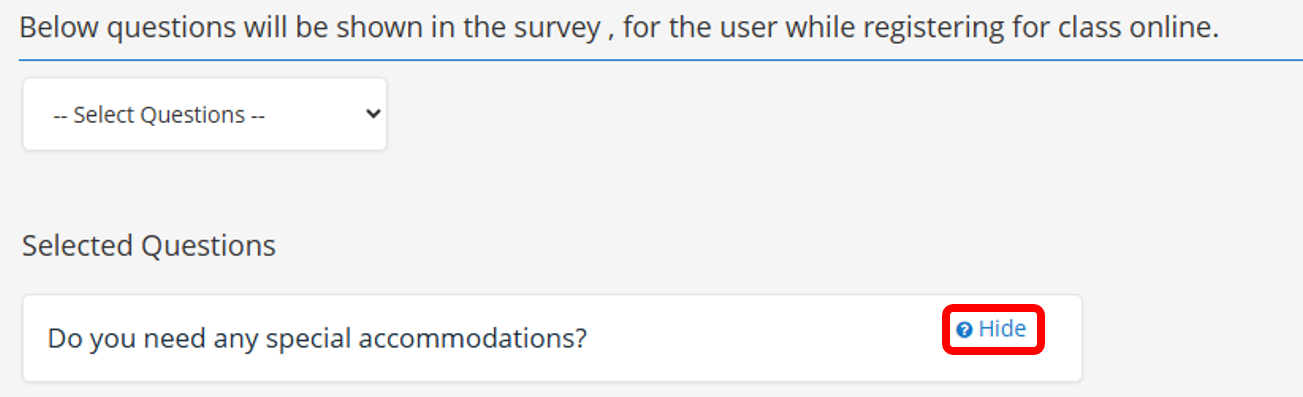
19.) To Hide a previously selected question, click Hide. Then be sure to Save Settings.