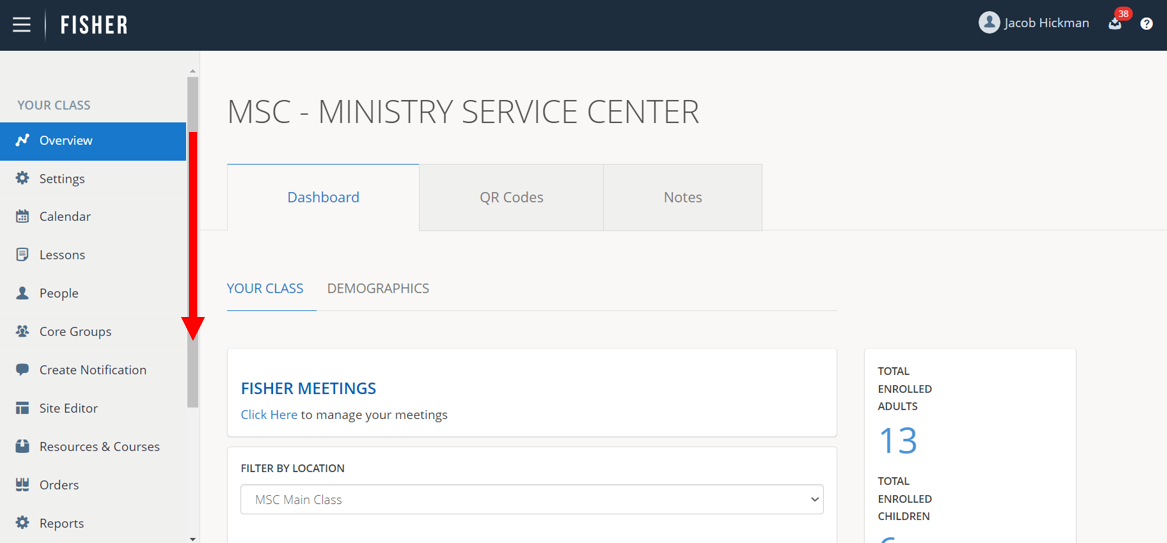
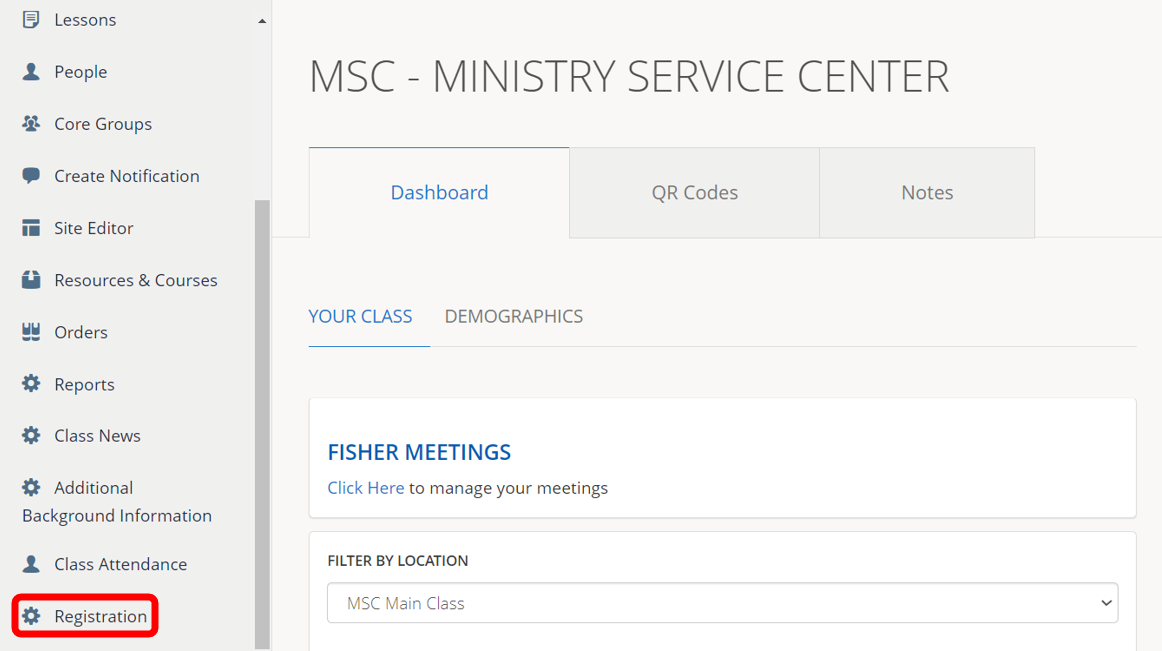
1.) To view, edit, and accept Registration Orders, scroll down on the left pane and click Registration.
2.) Click Manage next to the Registration Session (year) and Location you want to manage.
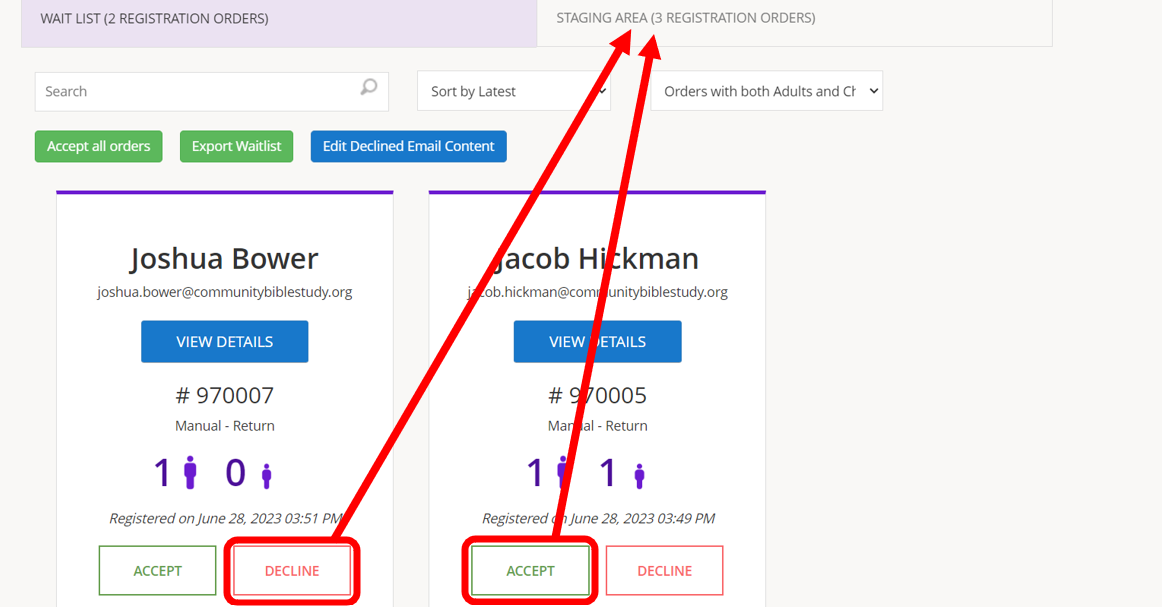
NOTE: The red circle (indicated with an arrow) shows the number of Registration Orders on the Wait List.

3.) Use the search bar to search for a specific person OR scroll down to browse your class’ Registration Orders.
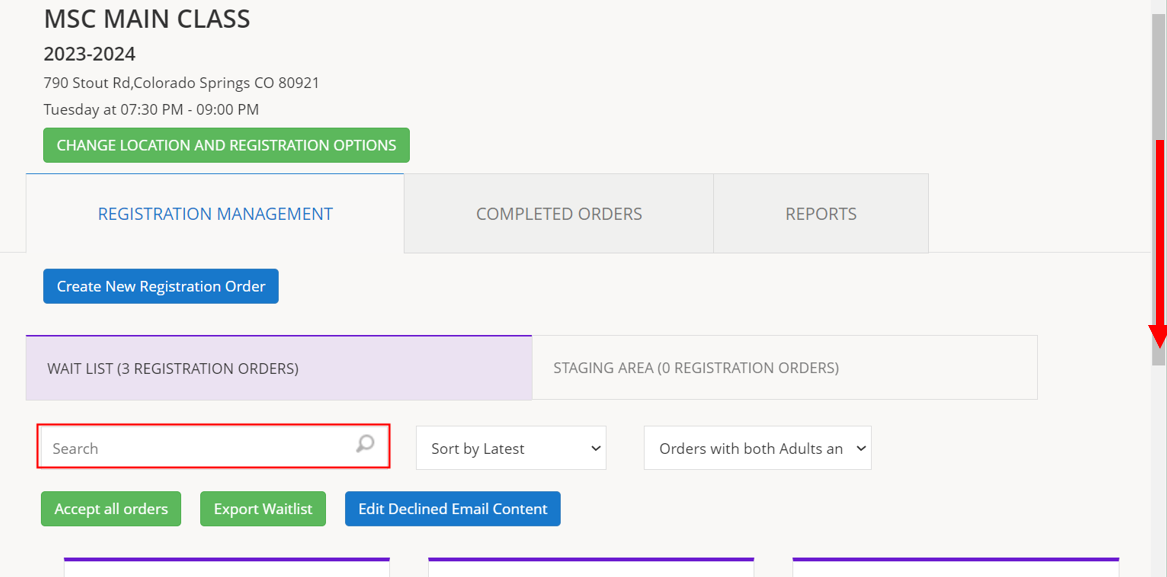
4.) The Registration Order boxes show the adult registrant’s name, email address, order number, the method of registration (Online vs Manual Entry AND New or Returning Members), icons for number of adults and children on the registration order, the date and time the Registration Order was submitted.
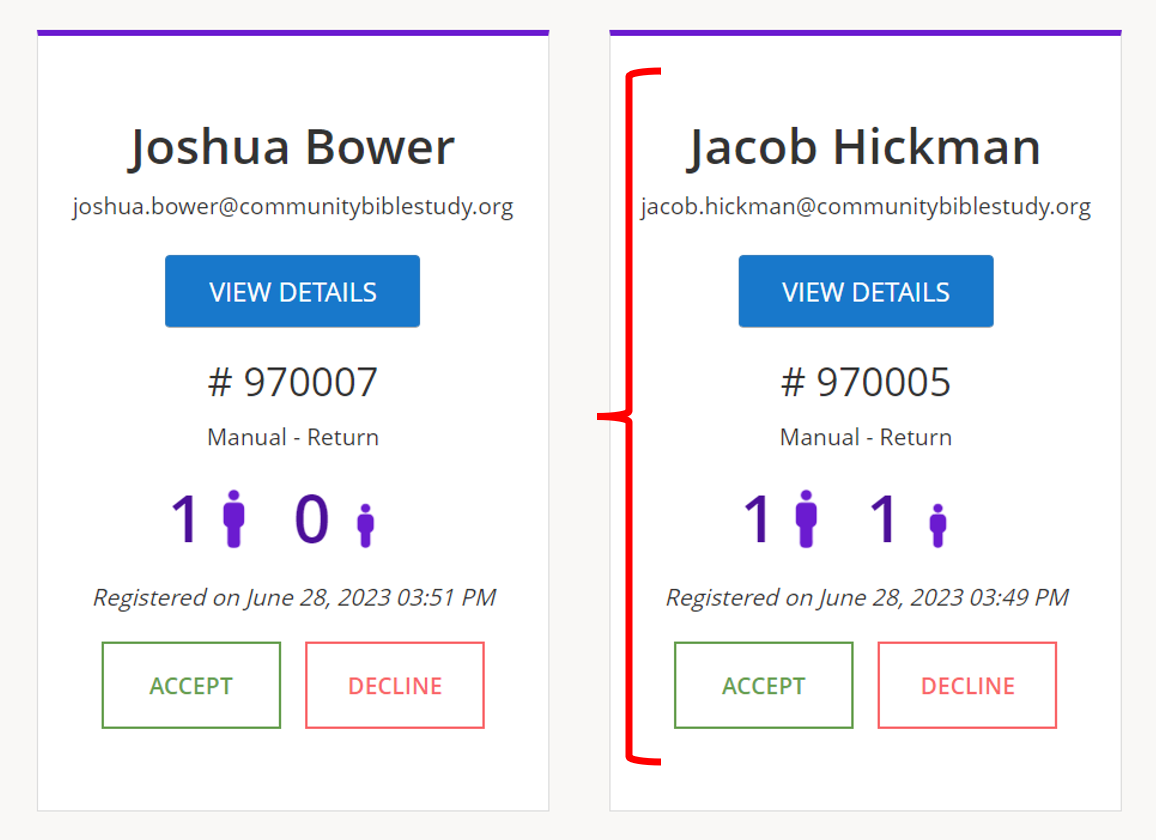
5.) To accept a Registration Order, click Accept. To decline a Registration Order, click Decline. Both Accepted and Declined Registration Orders are moved from the Wait List into the Staging Area. Until you commit these changes in the Staging Area, these choices are not yet permanent and can still be modified.
6.) Click on View Details to view all information about the Registration Order.
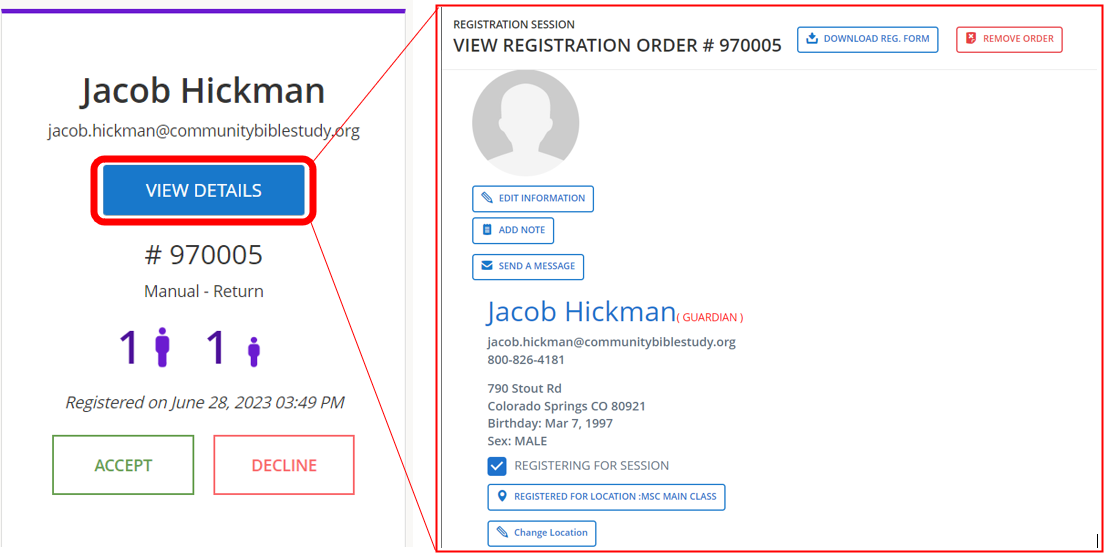
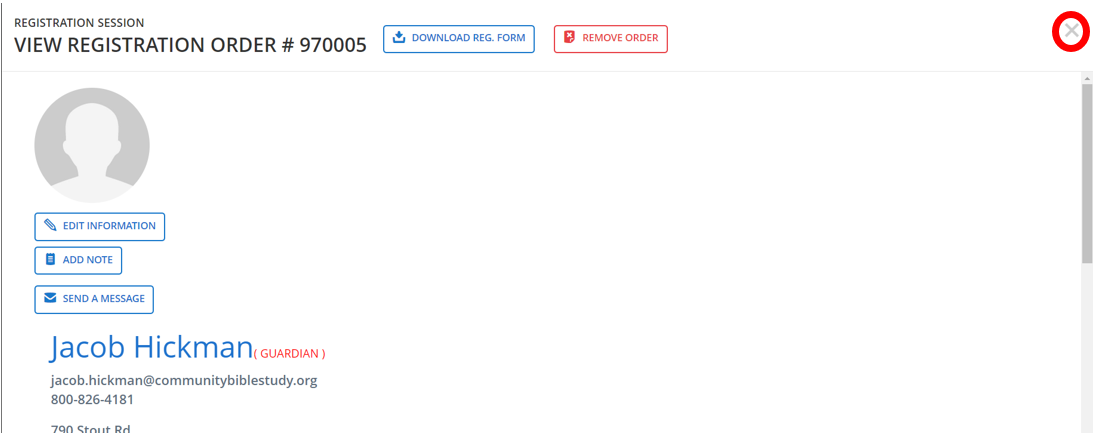
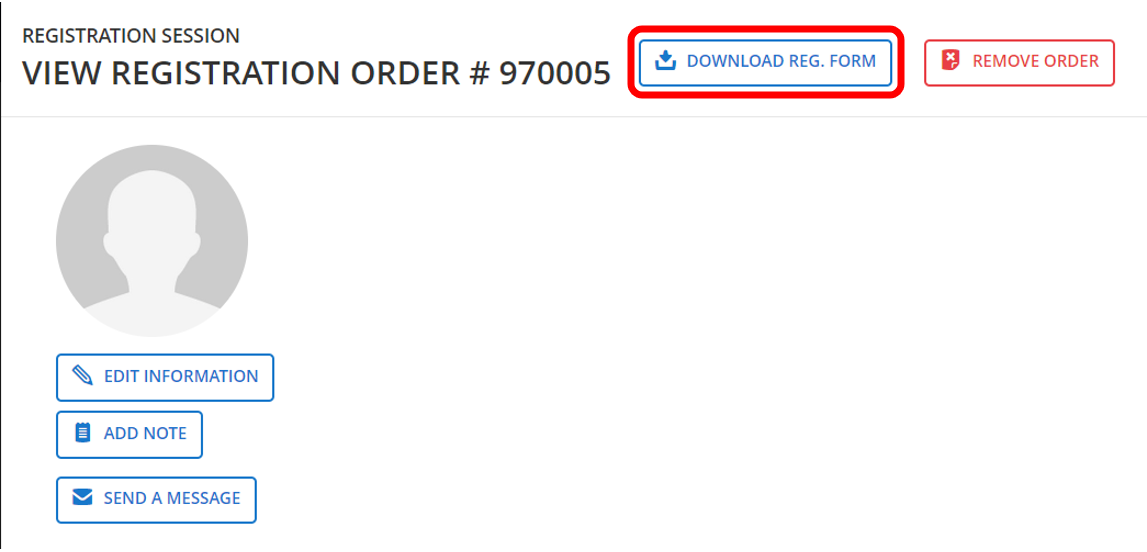
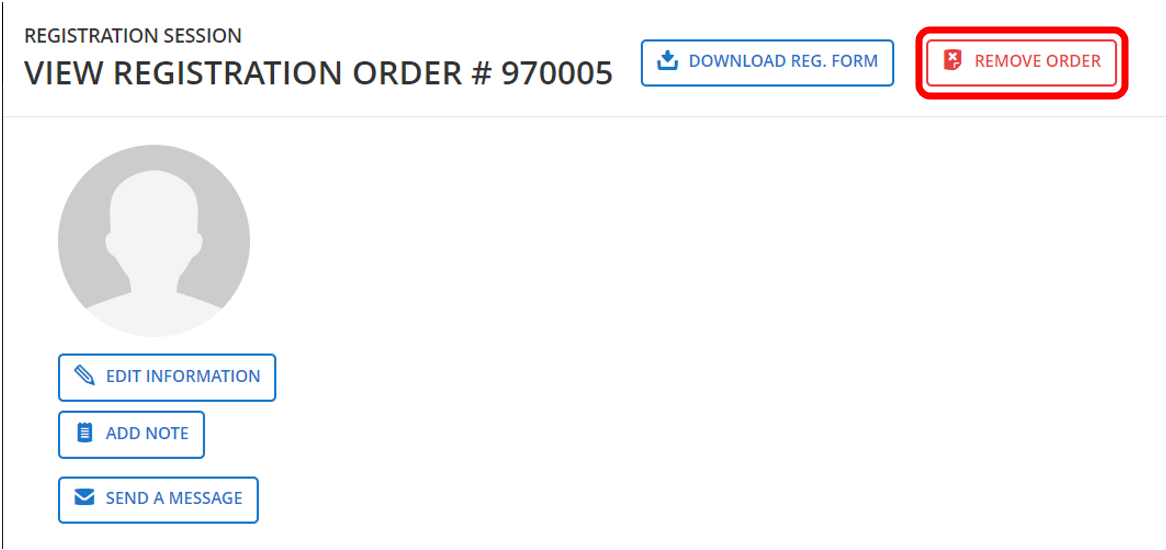
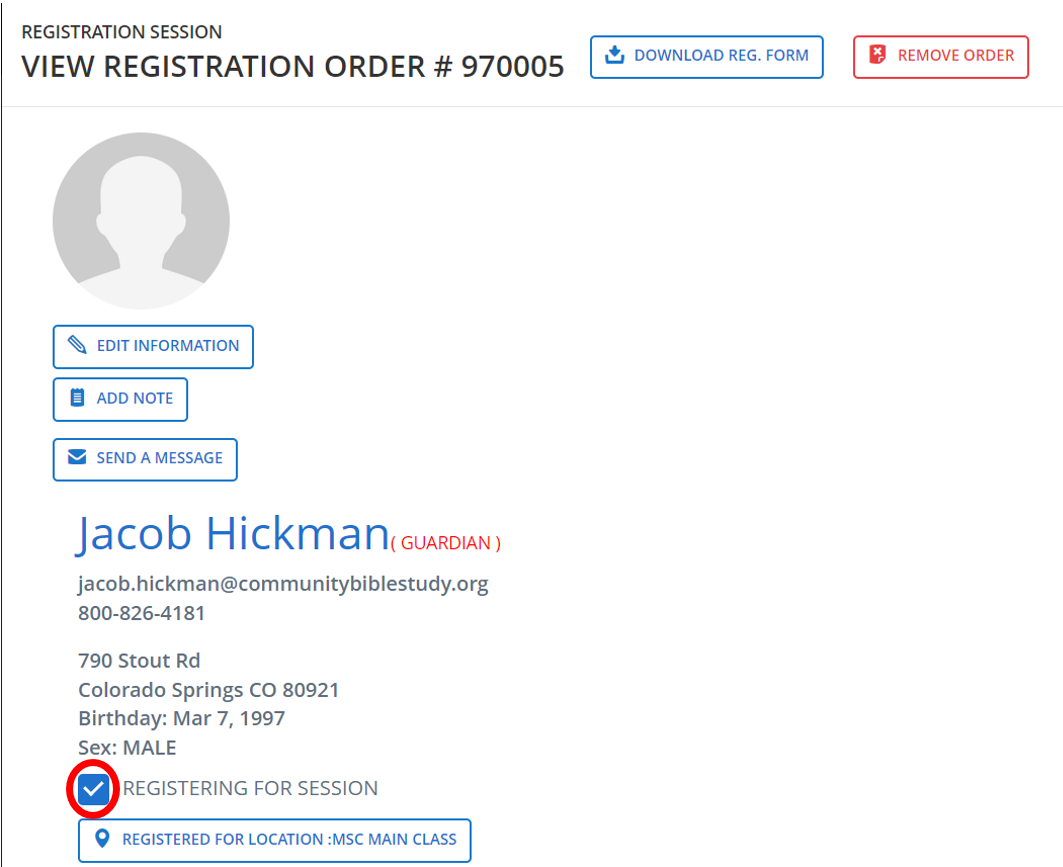
7.) The Registration Session and order number are displayed first. Click Download Reg. Form to download and print a traditional registration form with the registrant’s details.
8.) Click Remove Order to delete the Registration Form from the system. Once removed, the order is gone permanently.
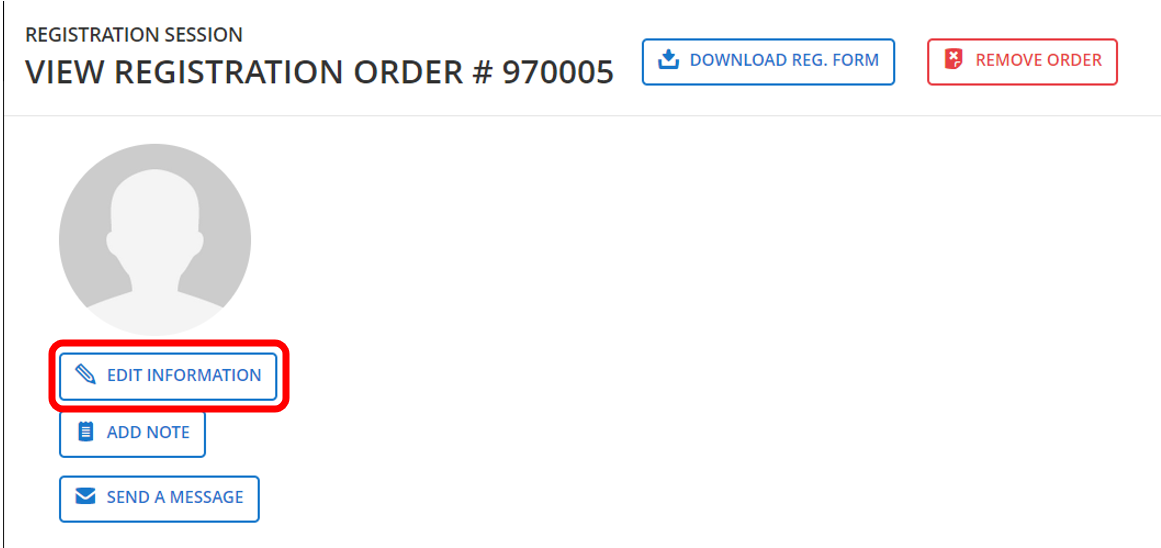
9.) Click Edit Information to update the name or contact information for a Registration Order. Be sure to click Update to save your changes.
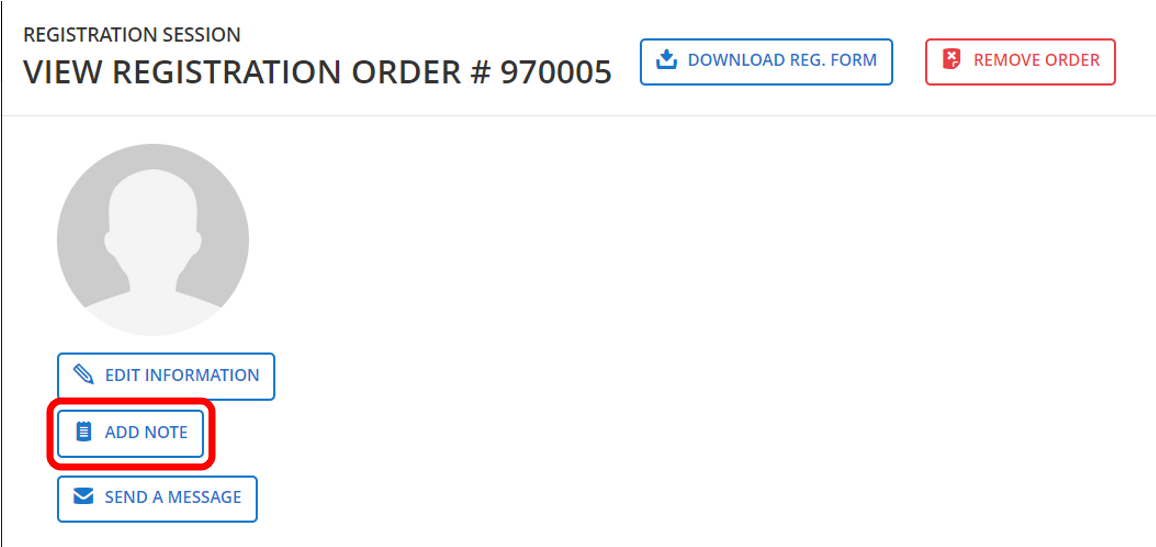
10.) Click Add Note to view notes or and/update notes on a Registration Order.
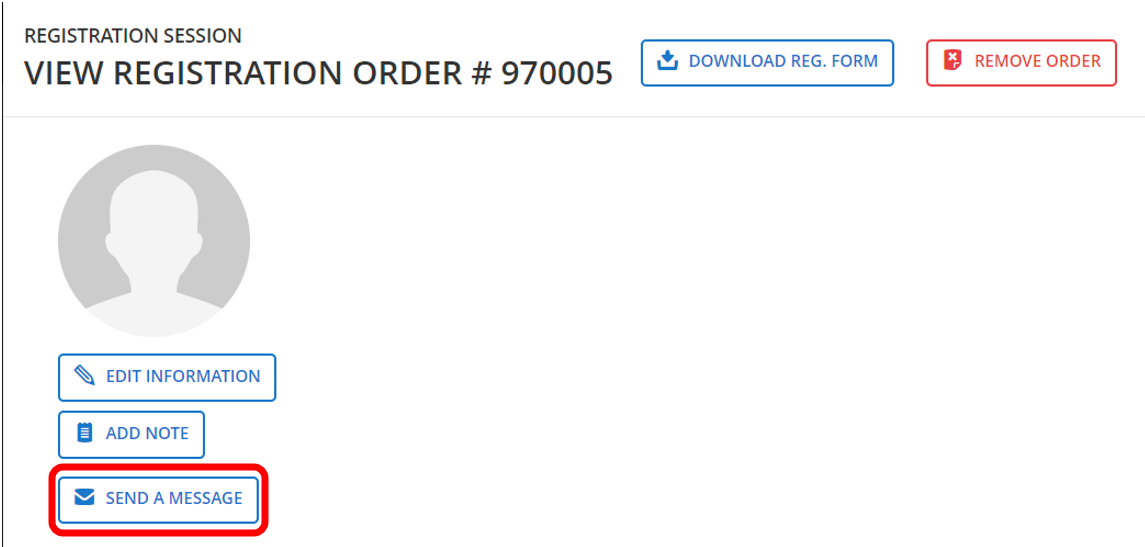
11.) Click Send a Message to send an email to a registrant.
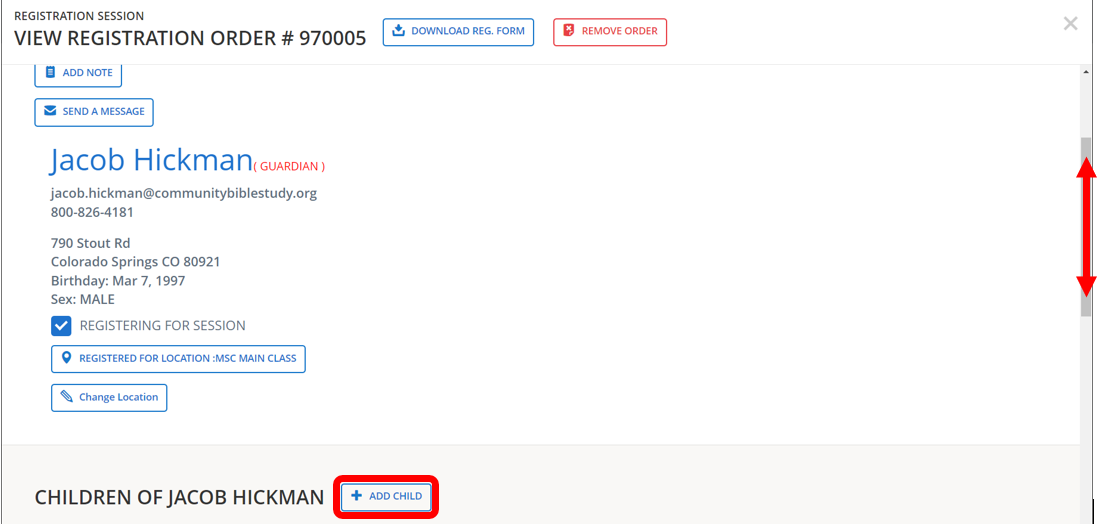
12.) To remove a registration session for the current and upcoming class year, uncheck the check box next to Registering for Session… For example: Uncheck the box for an adult guardian of a child in a student class who will not be attending the class.
13.) Click +Add Child to add a child to the Registration Order.
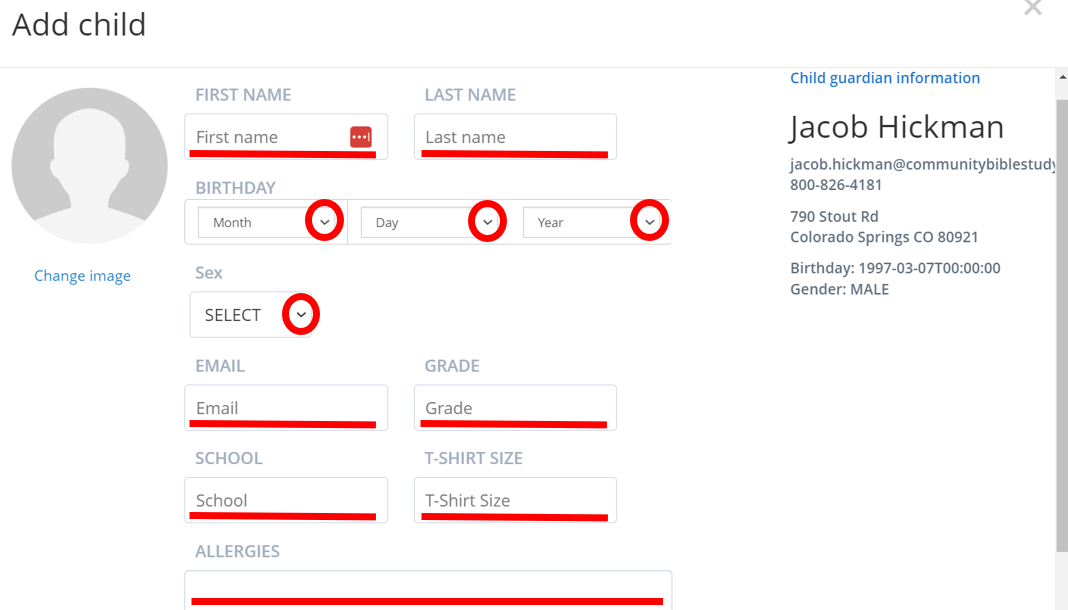
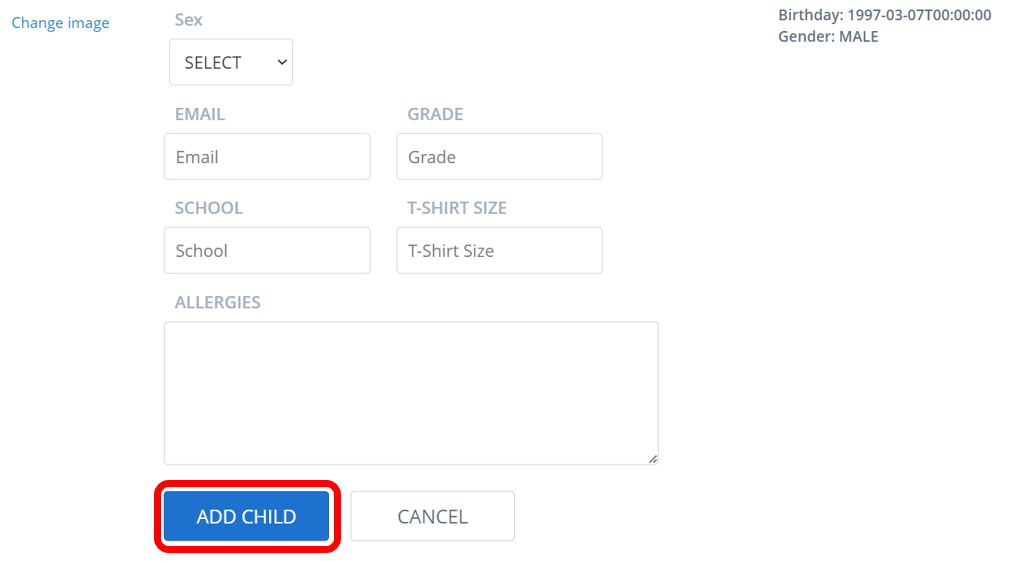
14.) Enter the child’s information, then click Add Child.
15.) Click the X to close the View Details screen.