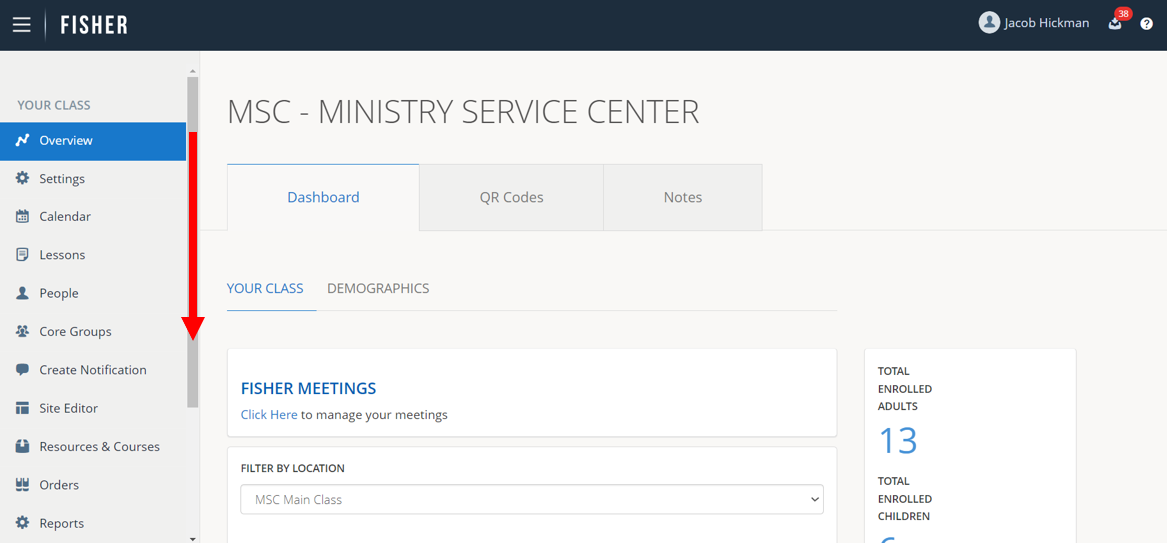
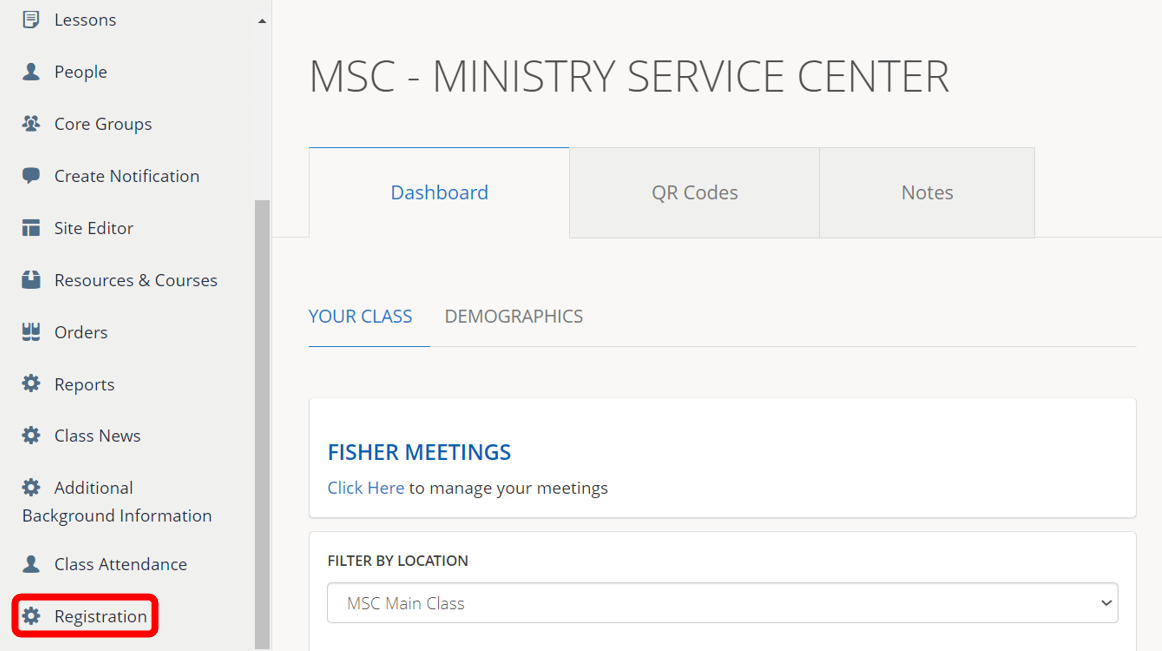
1.) To review Accepted and Declined Registration Orders and commit members to your roster, scroll down on the left pane and click Registration.
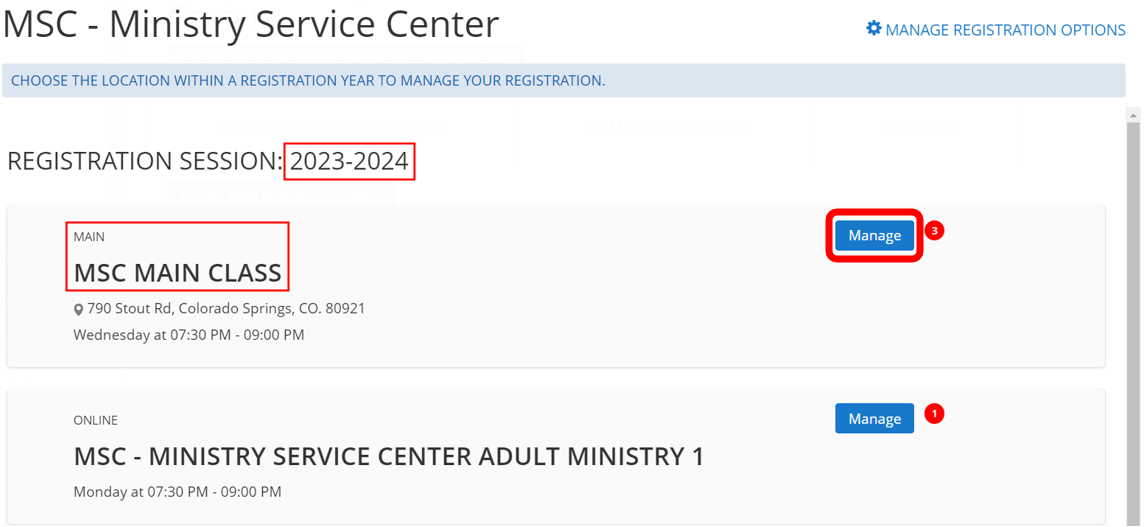
2.) Click Manage next to the Registration Session (year) and Location you want to manage.
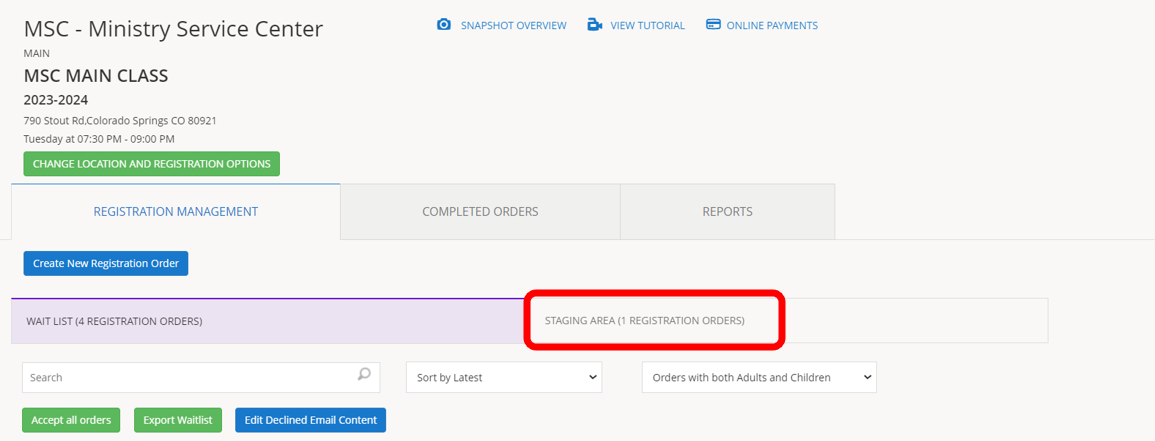
3.) Click Staging Area.
4.) If you need to make a change to a Registration Order, use the search bar to search for a specific person OR scroll down to browse your class’ Accepted and Declined Registration Orders.
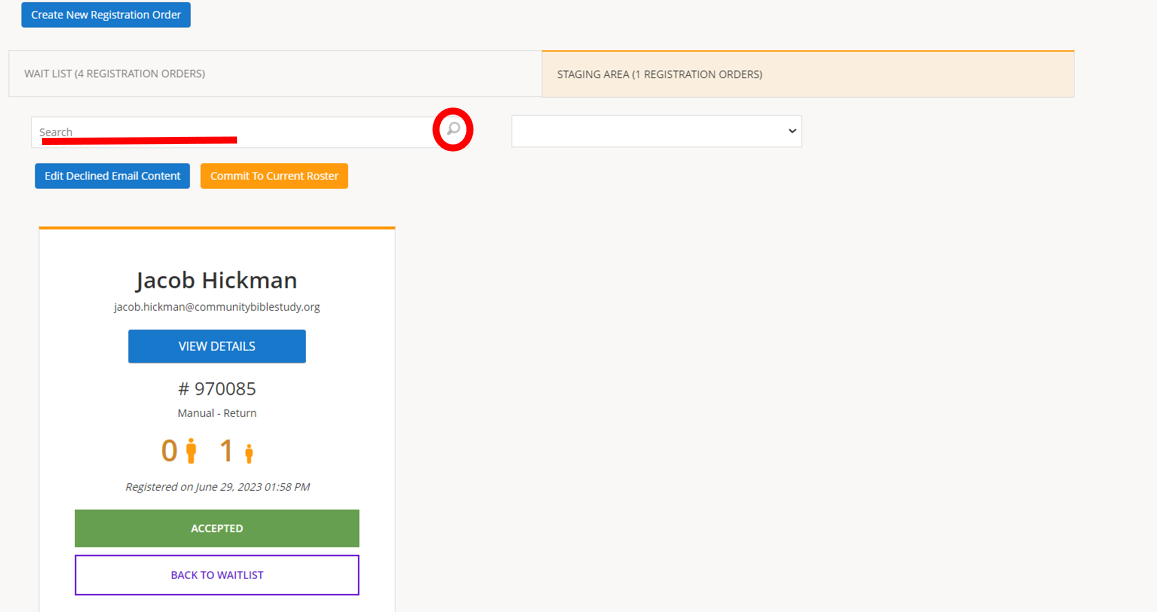
5.) Click the drop-down menu to filter and view only Orders Accepted or Orders Declined.
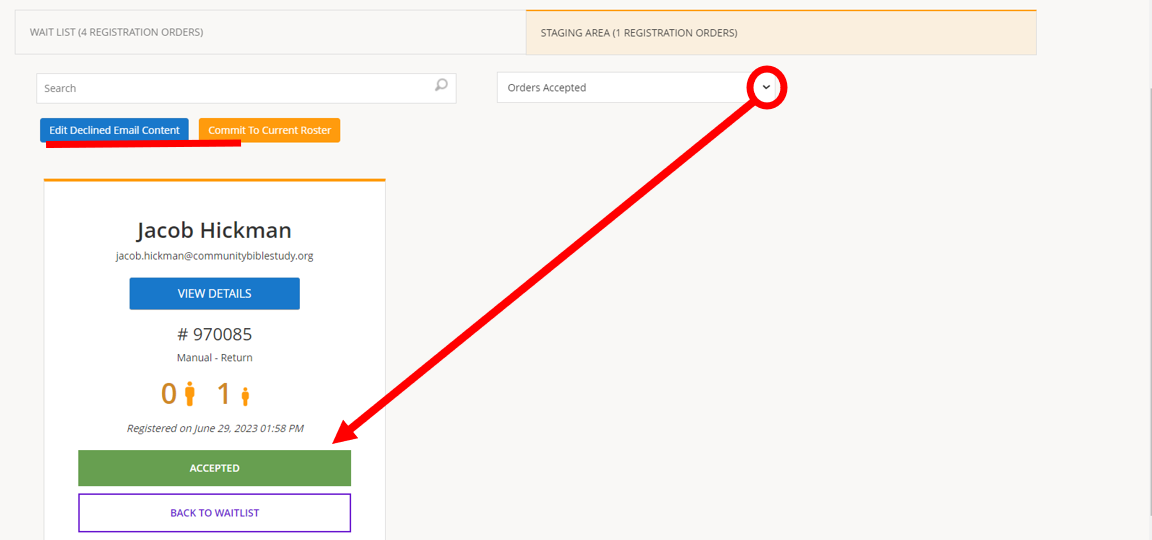
6.) Click Edit Declined Email Content to edit the message of the email sent to declined Registration Orders. Be sure to click Update to save any changes.


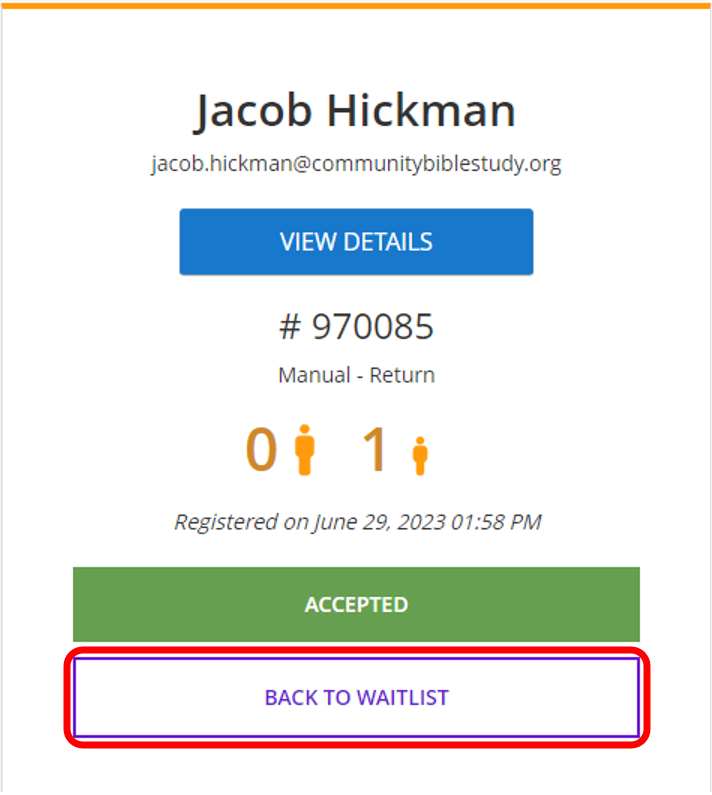
7.) Click Back to Wait List to revert a selection of Accept or Decline on a single Registration Order. This will move the Registration Order back to the Wait List.
8.) Once you have verified your Accepted and Declined Registration Orders, click Commit to Current Roster to finalize your selections. This process is not reversible; however, you can still remove members from your roster in the People module. NOTE: Once you click Commit to Current Roster, an email is sent to inform members about next steps.

